
 Arts & Crafts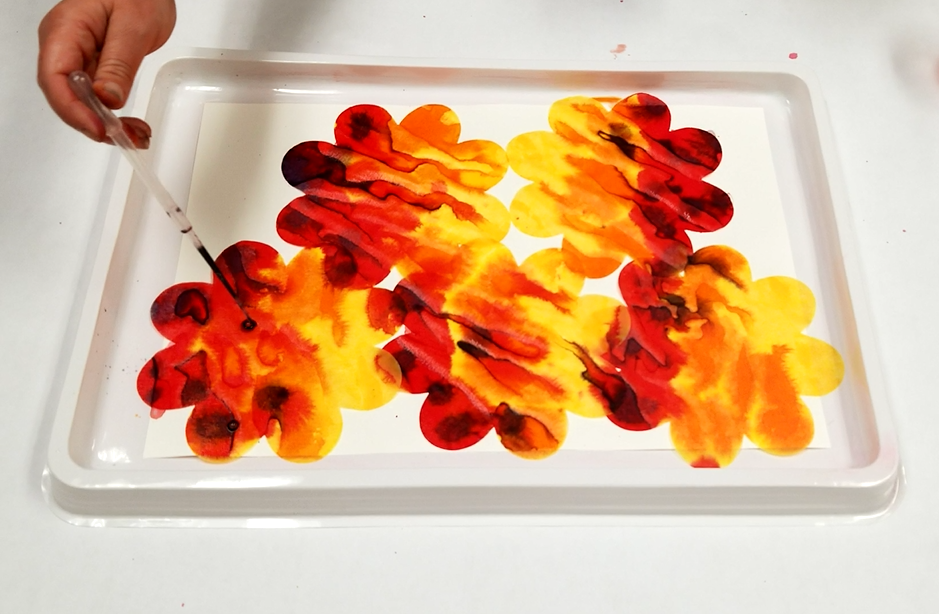
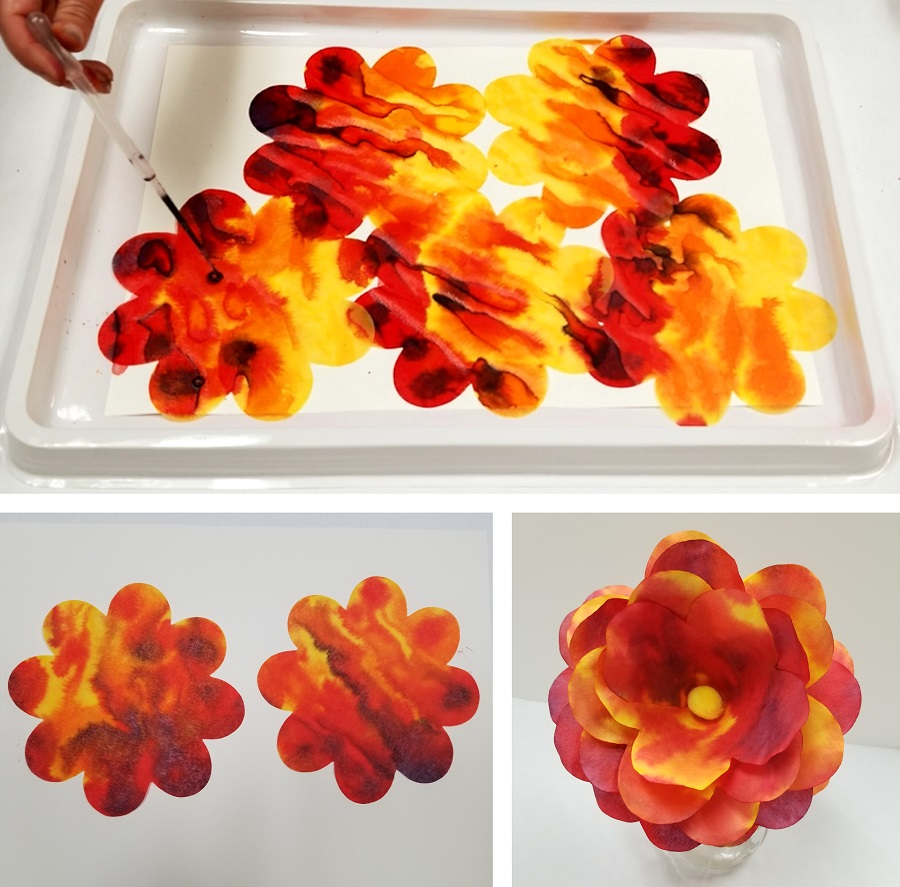
Learn how to make color diffusing paper flowers using liquid watercolor and special color diffusing paper. This craft project allows for creativity and personalization. Each flower will come out unique. View the step by step tutorial below, plus learn how you can turn these into 3D flowers!
You can also teach your group about the mixture of colors, and show them how liquid spreads onto the paper. Diffusion paper has a special texture that allows the colors to blend together and create different patterns and effects.
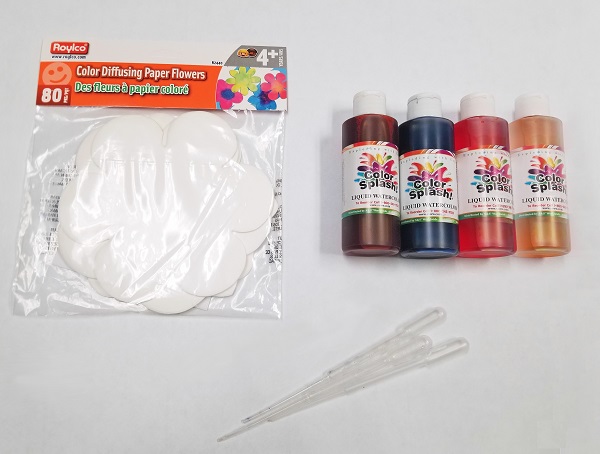
Materials:
- Color Diffusing Flowers
- Color Splash!® Liquid Watercolor
- Plastic Paint Pipettes or eye dropper
- Tray
- Cups
Video Tutorial
Instructions
1. Choose the colors you would like to use for your flowers. We chose yellow, orange, red, and purple. The more colors you mix, the more variety you will see in your flowers. Pour each color into a plastic cup.
2. Place your diffusing flowers on the tray, spread out as much as you can. Note: We placed a piece of construction paper inside the tray to easily discard after the project.
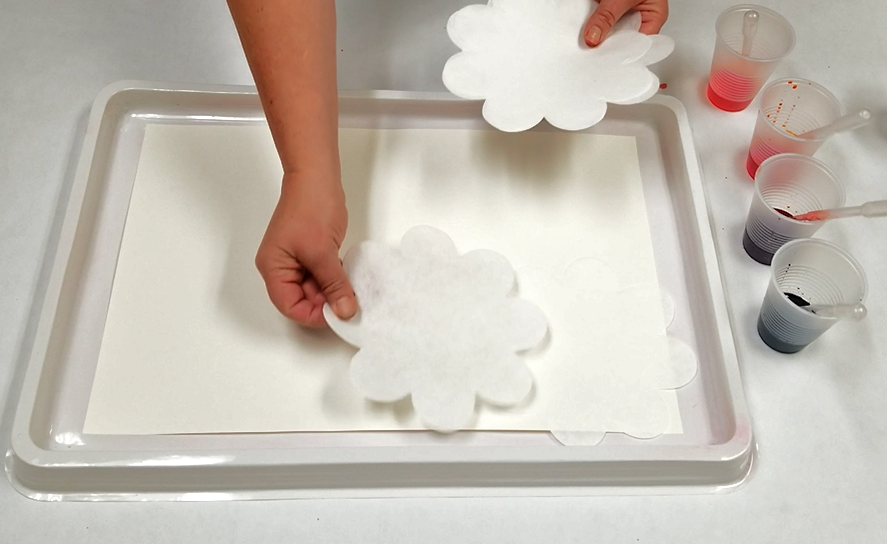
3. Use a paint pipette to drip the yellow liquid watercolor onto each of the flowers. Make sure each flower has some yellow, but you can be random in where you drip the color.
4. Repeat step 3 for the orange, making sure to cover over some of the yellow and also create some new areas for the orange, and then repeat again with the red, and then the purple. You will see the colors diffuse together!
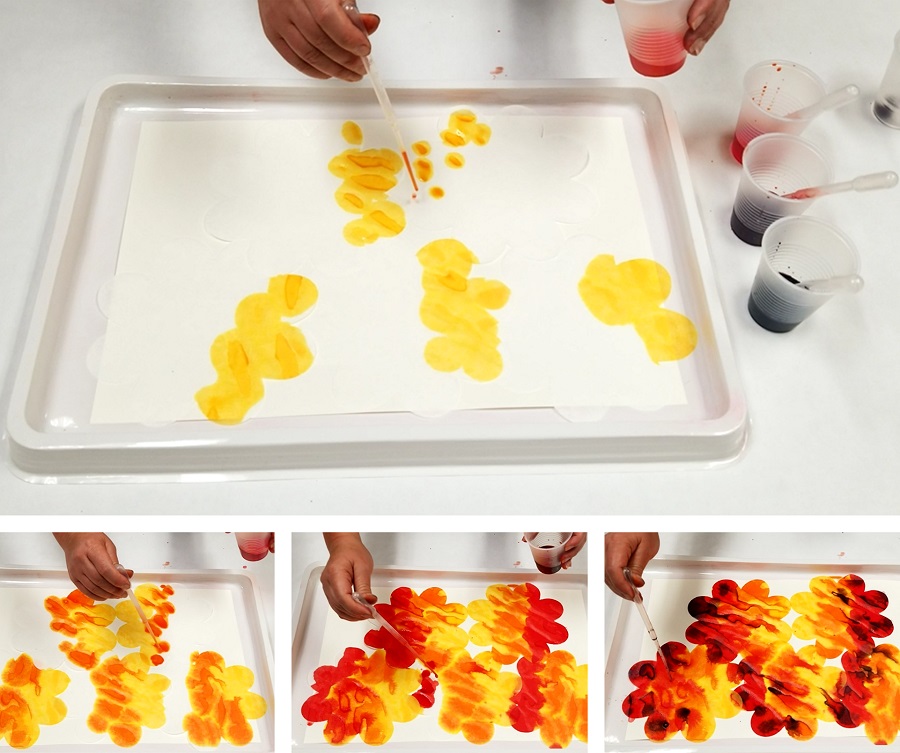
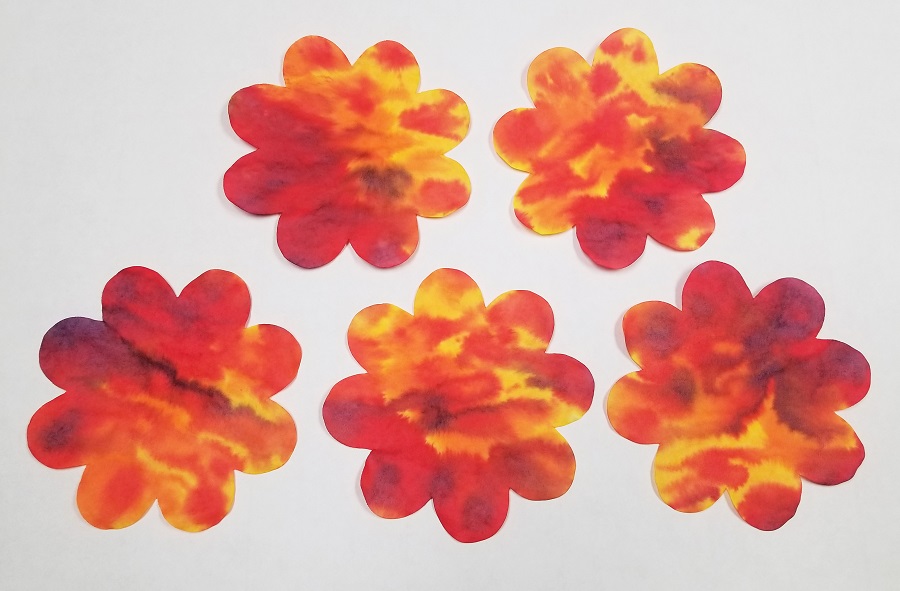
5. Let the watercolor dry, then remove the flowers from the tray. You will notice the colors do fade a bit for a nice washed out look.
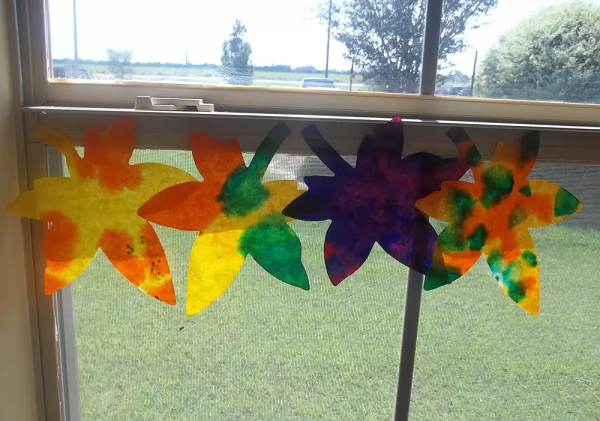
Display them in the window, around your facility, or give them to friends and family!
How to Make 3D Flowers
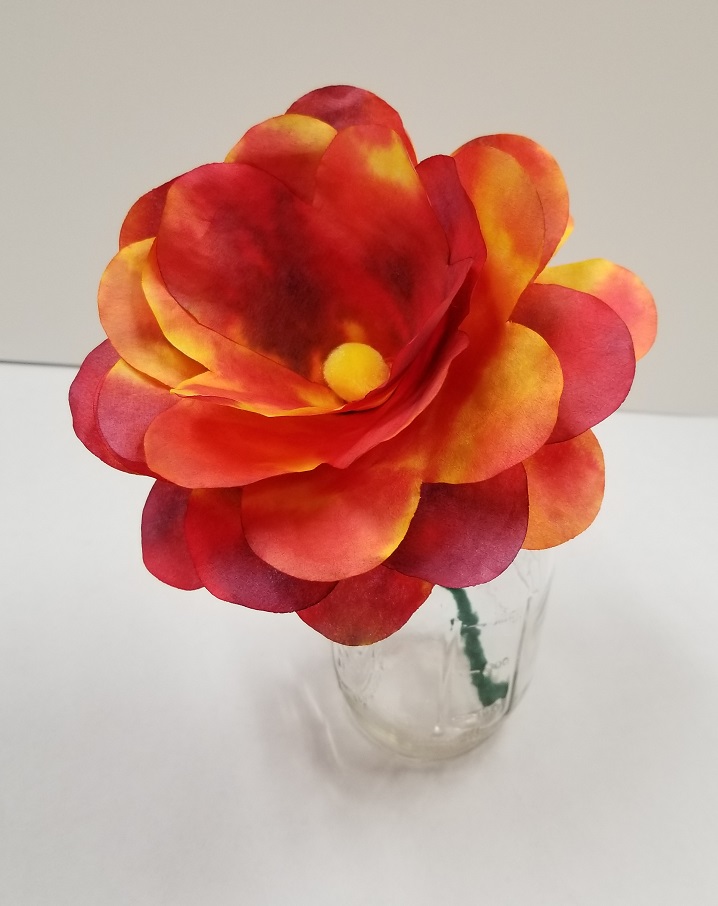
If you’d like to create a 3D flower with your color diffusing flowers, view the steps below. You will need a total of 5 layers for one 3D flower. Once your diffusing paper flowers are dry, you can start.
Materials:
- Paper Flowers
- Pom Poms
- Scissors
- Glue
- Pipe cleaners & adhesive felt (optional for stem)
Video Tutorial
Instructions
1. Set aside one flower for the base. You can choose whether or not you’d like to add a stem to display them in a vase, or keep them as their own centerpiece. For the stem, twist two green pipe cleaners together, then attach them to the base flower with sticky felt.
2. For the second layer, cut a slit between 2 petals on the flower up to the center. Fold the two ends together, apply tape, then flip over and press down in the center so that the bottom of the flower is flattened and will glue better in the final step.
3. For the third layer, cut one petal off of the flower. Cut at an angle towards the center. Fold the two ends, tape, press down.
4. For the fouth layer, cut two petals off of the flower, fold, tape, press down.
5. For the fifth layer, cut three petals from the flower, fold, tape, press down.
6. Starting with the base flower, place glue in the center of each flower and glue the layers together. Make sure you press and hold gently so they stay in place and let the glue dry. Add a pom pom to the center!
-
Hello,
The videos are saying “The connection was reset.” Would you provide a link for the the 3D flowers?
Thank you-
Hi Jim, thank you for letting us know. These videos are on our Youtube channel in our DIY tutorial playlist https://www.youtube.com/playlist?list=PLMAXh8wcniqdQvAGVt6wjY3DQZm7zKAYZ as #9 and #16. We hope this helps!
-
-
[…] A fun fall craft that can be used for decoration are these color diffusing flowers. Made of paper with a special texture that draws colors in and blends them into interesting patterns and swirls, this kit includes 4 styles of flowers and a total of 80 flowers in the pack. Perfect for use with our Color Splash!® Liquid Watercolor. It is a fascinating way to experiment with color blending and easy to clean when complete. Use fall colors like orange, red, and yellow! View the step by step blog tutorial here. […]
-
The above directions list doing the 4th layer twice . . . typo?
-
Hi Brenda, yes it was supposed to say “fifth”. There are 5 layers for the 3D flower, and for the 5th flower you will cut off 3 petals. Thanks so much for catching that!
-


Leave a Reply