

Here is a super fun DIY Volcano activity that you can incorporate to a Dinosaur theme event, STEM program or even camp, which uses brown and red acrylic paints as well as red liquid watercolors and some basic household supplies. Just a heads up, this is a multi-step process that takes a few days due to drying time needed in between steps.
Objective: Creating fun sensory play for exploring volcanoes. Makes a great STEAM group activity!
Minimum Age: Preschool
Materials for Volcano:
- 2-4 old boxes
- Duct tape
- Small bucket
- Spray foam- 3-4 cans (for adults only)
- Spray paint- 1-2 cans (optional)
- Cornstarch/Water (optional)
- Acrylic brown paint
- Acrylic red paint
- Paint brushes
- Squeeze bottles (to drop red paint)
Materials for Eruption:
- Baking soda (approx. 4-5 boxes)
- White vinegar (approx. 2 gallons)
- Red liquid watercolor
- Dish soap
Build the Giant Volcano
1. Reusing an old box, turn it on it’s side and duct tape it closed. This becomes your tall base.
2. Using another box, duct tape long pieces around the box base and slightly angle the bottom so it flares out.
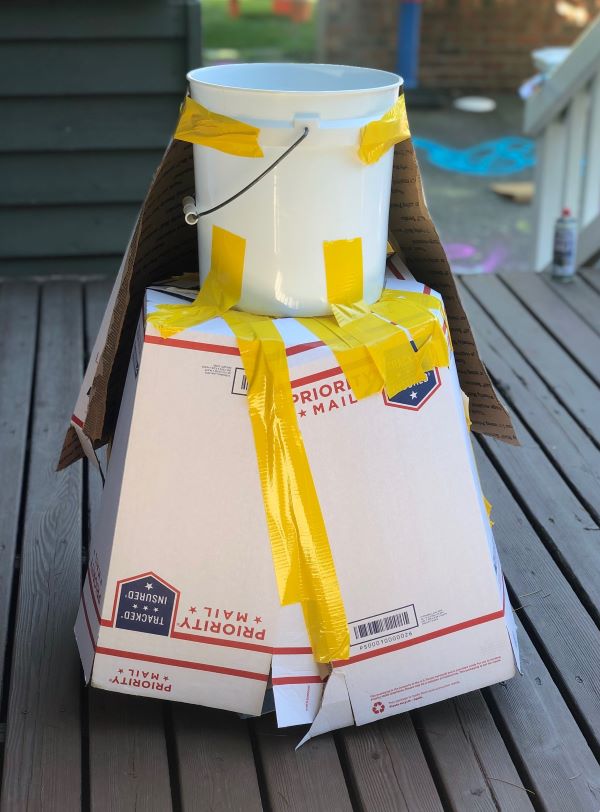
3. Once the bottom is fully covered, find an old bucket and duct tape it to the top of the box.
4. Repeat step #2 around the bucket. I found that if I ripped the cardboard boxes into longer, thinner strips, it was easier to form into a cone shape or Volcano.
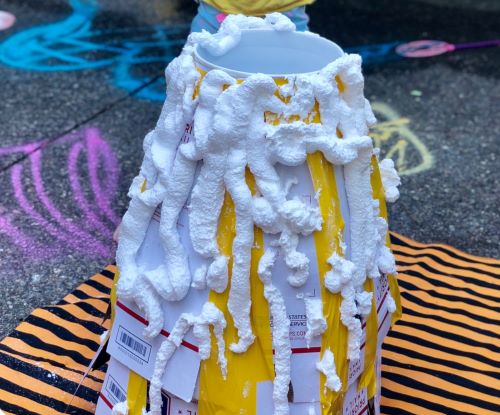
5. Use spray foam to cover the cardboard. This is for adults only since this contains chemicals. The children watched as I did this though and they were really excited to see this come together. I used 3 full cans and I could have used more. Let dry overnight.
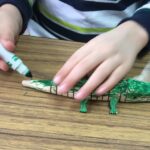
6. Time to Paint! Using brown acrylic paint, let the children paint the white foam. Some parts were challenging to get into so you can have the children drip brown paint with squeeze bottles onto the volcano and then brush the paint into the textured spaces. I had some metallic copper spray paint left over from another craft so I sprayed the volcano with that. Once dried, the kids kept painting with the brown acrylic paint to make this step faster.
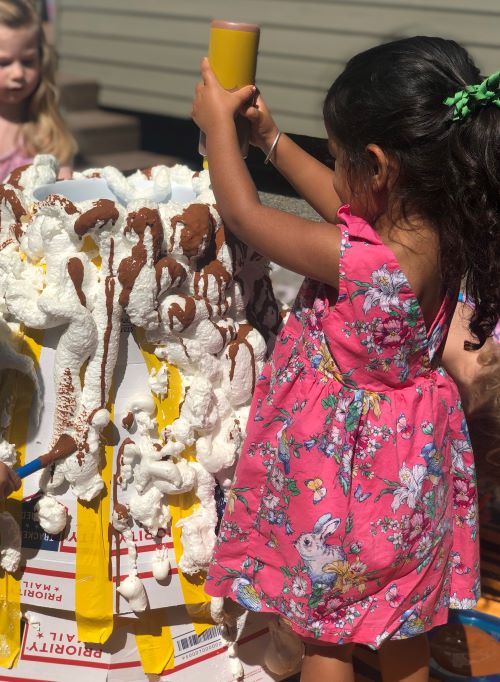
7. Now time to create Lava. You could let the kids squeeze red acrylic paint from smaller paint containers but since we have the giant ones, I put the red paint into squeeze bottles.
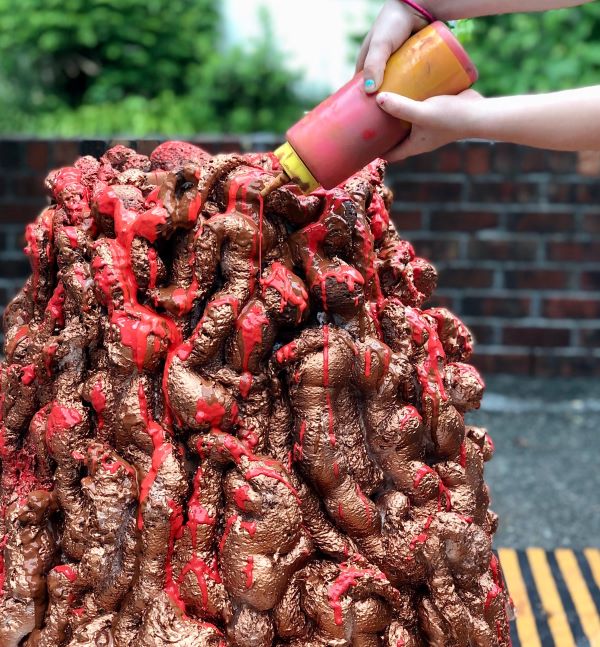
*I did notice that the paint was a little too runny for what I wanted so I found a way to thicken the acrylic paint with a goop made from boiling water and cornstarch.
Kids can squeeze the red paint down the sides which makes it look like red lava spilling over. Allow to dry overnight.
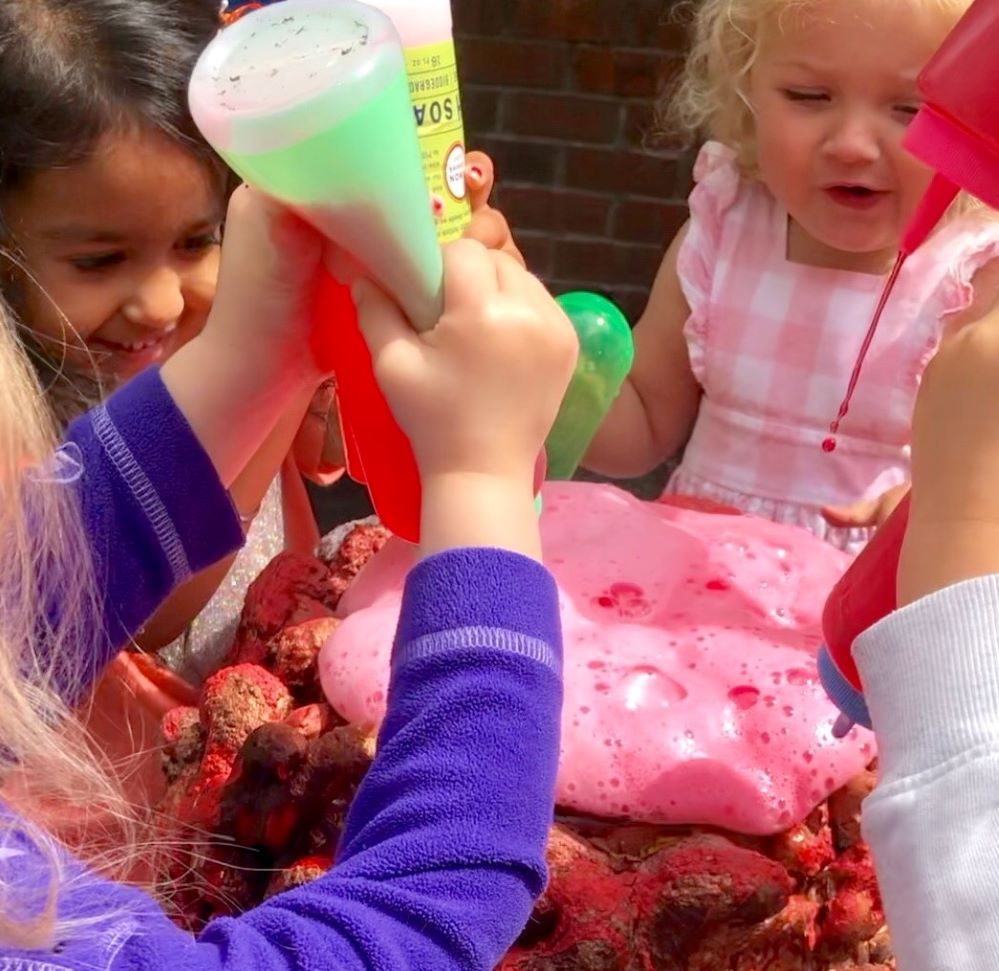
8. Explosion! Allow the kids to dump the boxes of baking soda into the top of the volcano. This is a great time to ask them what they think is going to happen or discuss the science behind baking soda and vinegar reaction. I squeezed in a lot of dish soap on top of the baking soda. This will help to create even more bubbly lava.
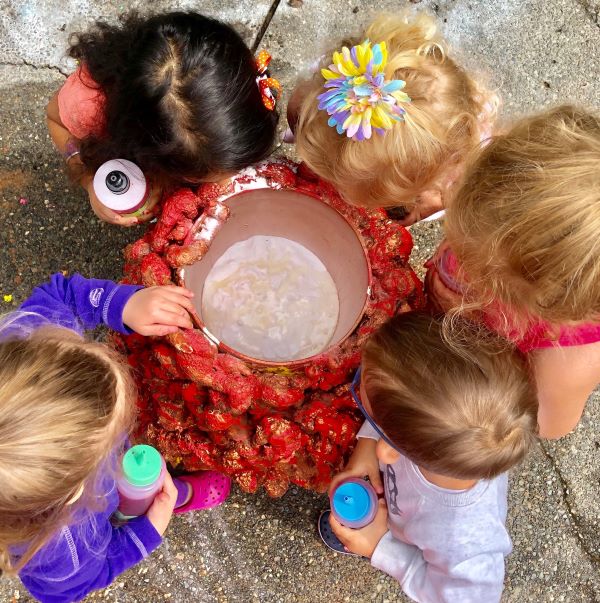
9. In containers, I mixed together white vinegar with red liquid watercolor.
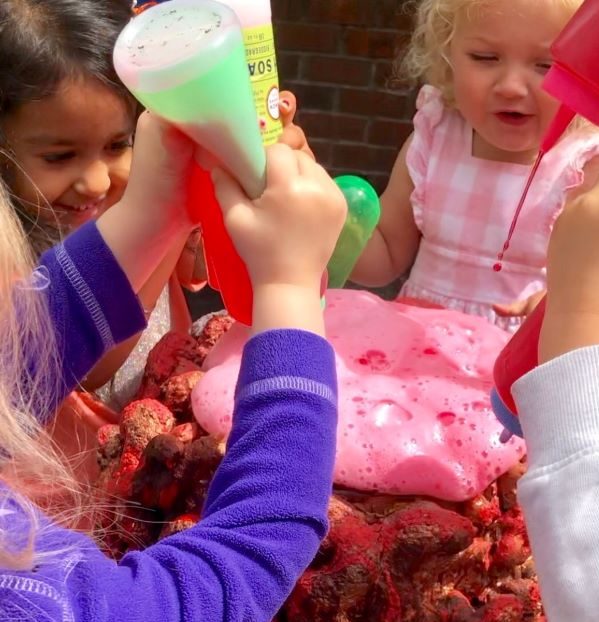
10.Then hand these containers to the kids! Let them squeeze these containers into the top of the Volcano and watch the reaction!! So Exciting!
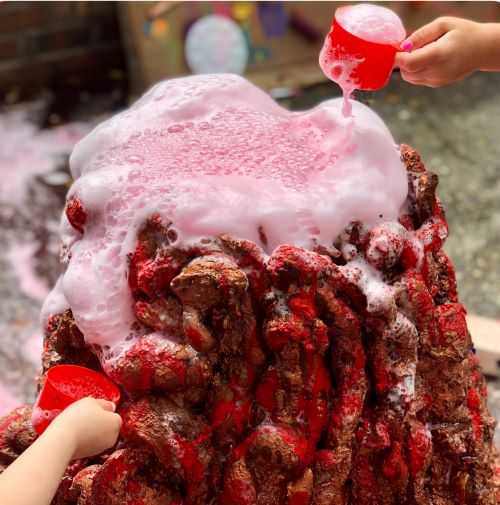
You can give the children small scoops to catch the lava for extra sensory play!
About the Author:
Randi is the founder of How 2 Play Today. She created this online community to share ideas and help inspire others to create. Randi has always had an interest in child psychology and has been following that passion since she was a kid herself. Over the years, Randi has been capturing adventures of her and her children and sharing these ideas on her website at how2play.today. This helps busy parents and caregivers who want to play more with their kids but need ideas, product suggestions, and a simple guide for activites.


What spray foam did you use? Thanks!
Hi Rachel, I have reached out to the author of this article to see what product she used. Will send you an email as soon as I hear back!
This is a very interesting STEM group activity for kids. It would help them to learn and develop many life essential skills. Thanks for sharing this idea and explaining it so well!