

Objective: To enhance descriptive writing using precise explanations & directions on how to make or do something
Age: 6+
Time: 30-35 minutes (writing/art varies)
Grades: 1-4
Materials:
- Small pictures of animals/ people, places & things (optional)
- Colored pencils
- Crayons
- Watercolor paints
- Brushes
- White paper
- Construction paper
- Lined paper
- Pencil
- Glue
- Scissors
Lesson Instructions
*Note: When using verbs, adjectives, and nouns, it is motivating to give the children pictures of animals, people, places or things to describe once a week for practice; ages 5-8. Younger kids may need to dictate their thoughts instead of writing.
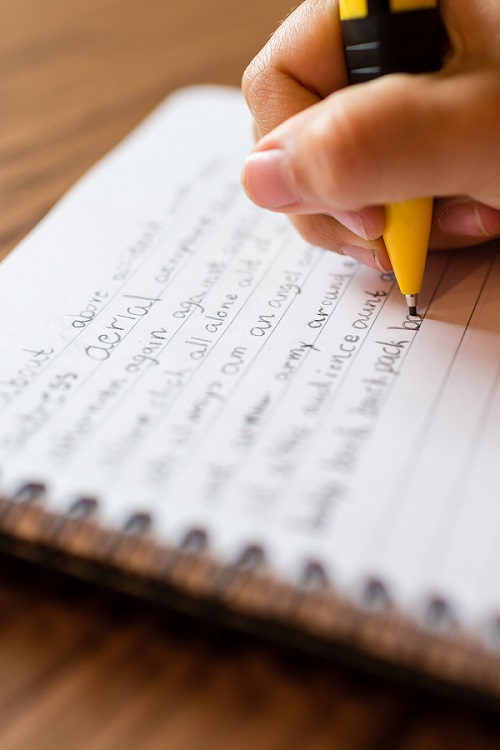
It’s time to explain directions! It’s time to ‘explain’ how to make or do something. We must always be careful to include all the information the reader needs to know! When using explanations, you will help your reader understand your directions more clearly.
1. Choose a special topic to explain how to make or do something.
2. Choose your audience: parents, friends, classmates
3. The children can create their own picture first and use the visual to inspire their descriptive explanations. If there are time constraints, allow the children to use completed pictures, photographs, clip-art, or coloring pages instead. Remember, if a child is confident and does not need a ‘visual’, let them enter their writing from his/her position of strength.
4. Write the explanations/directions in sequential order using adjectives to enhance the overall idea.
5. Edit the writing and creatively publish for display.
6. Read orally when done!
7. Use this activity to guide other writing mini lessons i.e. use of verbs and adjectives or listing with use of commas. (optional)
Each direction would not be the same without ‘descriptive’ words!
Adjectives are GREAT to use when writing to explain! Circle the descriptive words: Great spot, happy snowman, huge mound, smaller snowball, straw broom,
Big belly, warm scarf.
Sample Lesson
How to Make a Snowman
1. Find a great spot to make a happy snowman.
2. Make a huge mound for the bottom of the snowman.
3. Roll a medium sized ball of snow and place it on top.
4. Roll a smaller snowball and place it on top of the medium sized one.
5. Collect sturdy sticks for arms.
6. Balance a straw broom on one of the arms.
7. Use rocks as eyes, mouth and buttons on his big belly.
8. Don’t forget to wrap a warm scarf around the neck.
9. If you have a hat, reach up high and place it carefully on the head. You might need a step stool though
By Matthew; Age 9
TIP: Use a Color-by-Number Activity – Sometimes a visual helps the writer to explain the details about how to make or do something. It can also help reinforce the use of specific vocabulary. Using previous knowledge is also another way to encourage children to write about how to do or make something!

Notice that Matthew wrote about how to build a snowman. His audience was his classmates. Matthew relied on his previous knowledge, as well as his reasons for explaining his directions! Matthew also used adjectives to excite the reader. Moreover, visual imagery was transferred to his visual memory. Now his classmates can visualize how to build a snowman!
Evaluations
Depending on the skill you are reinforcing, this activity lends itself easily to assessing descriptive sentences, sequential order, writing to explain. Be sure to inform your students about your expectations. Perhaps you can orally assess a particular skill by asking the children to tell you to name parts of a sentence. Their written application will already be completed. Another way to organize your anecdotal notes can be to create a skill chart and check off the skills that have been mastered or need more improvement. See other ways to use this lesson.
Other Ways to Use This Lesson:
Remember to allow the opportunity for your learners to write with an explanation in mind. Let them see the picture before they write. Train them early to ‘visualize’ and see the details or understand the reasons why they explaining specific directions.
This lesson can focus on various skills. When you are introducing the purpose of writing to explain, allow the children to draw on previous knowledge, as well as be inspired by the pictures. Try this activity every week and create a journal or a ‘how to’ booklet to collect this writing genre. This activity can give you an on-going progress assessment as well.
Additionally, you can use this activity every week for practice along with reinforcing writing in sequence. A fun way to change-up this lesson would be to have a copy of their writing and cut directions into strips. Use the visual as an inspiration to help a partner place the directions in sequential order. This can be a fun workshop activity. Laminate the pieces and place in an envelope for storage.
Allow the children to highlight adjectives and verbs in different colors, identifying its proper use. Have them write synonyms and antonyms to increase their vocabulary, or even creatively use their explanations in poetic form. Perhaps they can take each sentence and elaborate them for practice. You can also use this activity to enhance existing story topics. For instance, you may be reading about space, so allow the children to write about ‘how’ to be an astronaut. Perhaps they can create a sculpture of a space ship, use photographs, pictures or coloring pages of their topic. If you have stickers, try them to save time. Just illustrate the background.
Remember, if time is a challenge, keep pictures or cards of animals, people, or places available, with or without a background for your students to use rather than spending time illustrating. If you have time to illustrate, try stencils to trace and add details as needed… ‘seeing is believing’.
Lastly, glue your work to colored paper and display illustrations or sculptures creatively. Share aloud with classmates. Collect the writing, create a bulletin board or put examples into booklets, and keep in a ‘how to’ basket to be shared by others in your classroom library.
About the Author:
 Kim Waltmire is a state and national award-winning educator. She holds an honorary seat with the 2006 USA Today All-Star Teacher team. Kim is a graduate from CCSU with a Masters in Early Childhood Education. She published a writing & literacy book; Picturesque Writing, now self-published as The Art of Visual Writing for elementary teachers K-5. Kim also published a Read-Along Series for primary grades, coupled with spelling, grammar, science and social studies lessons for k-12 with a home-school company. Her writing and Project Based Learning strategies were recognized and published in the Creative Classroom Teacher’s magazine; May/June 1998 issue. She was recognized for her educational contributions and Project Based Learning by Oprah Winfrey, interviewed on CNN, Fox News, and honored by the CT State Governor several times. Kim has taught elementary school for 28 years and presently an Educational Literacy Consultant. Kim’s passion is teaching writing literacy for all learning styles.
- Twitter: @kwaltmire
- LinkedIn: www.linkedin.com/in/kimwaltmire/
- Website: www.visualccl.com


Beautiful amalgamation of ideas and various techniques to incorporate effective approach in our teaching ,at the same time it is enhancing multiple skills and knowledge for students .
Truly incredible activities for holistic learning.