


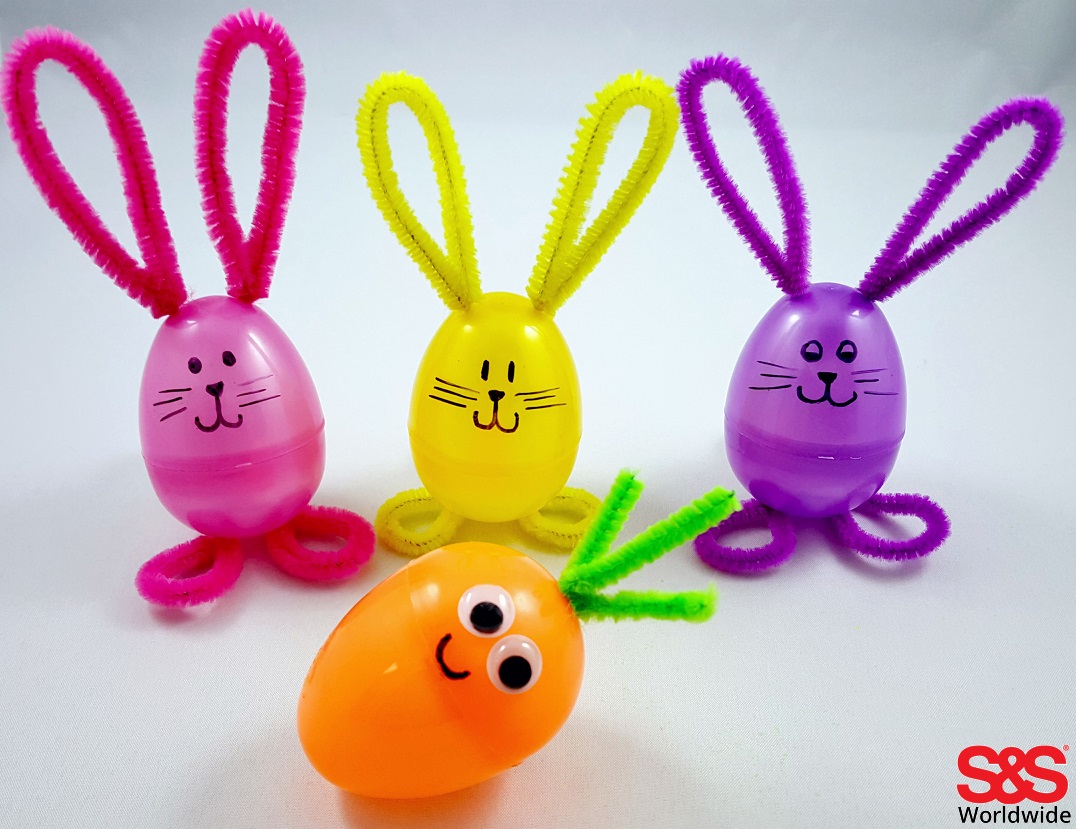
A fun craft to do with plastic eggs! Make DIY glow bugs with just a few materials. These are also pretty simple to put together. Once completed, they can be used for decoration of even a night light! Use leftover Easter eggs for a simple upcycle craft.
Materials:
- Plastic Eggs
- Sticky Back Foam
- Sticky Back Felt
- Pipe Cleaners
- Wiggly Eyes
- Permanent Marker
- Faux Tea Lights
With similar tutorials, they may tell you to start you off with piercing holes in the eggs to put the pipe cleaners through. This is not very kid friendly, so we wouldn’t recommend it!
1) Begin with giving your glow bug a face using a permanent marker and wiggly eyes. TIP: To make things easier, use adhesive wiggly eyes, and then you won’t have to deal with messy glue!
2) Create the legs by cutting two strips of adhesive foam about a centimeter thick.
3) Make two folds towards the end of the strips and then stick them on to bottom of the egg.
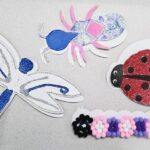
4) Cut out wings from any type of paper you prefer and then cut and curl a pipe cleaner for the antenna.
5) Fold both wings and antenna at the center and hold in place using a small strip of adhesive felt (or foam).
6) Now just turn on a faux tea light and place inside egg and your glow bug is complete!


Pingback: Fun Senior Activities with Plastic Easter Eggs - S&S Blog