Objective: To enhance descriptive, expository, and creative writing using pictures
Age: 5+ Time: 30-45 minutes (writing/art varies) Grades: any age
Materials:
- Posters of animals, people, places & things
- Construction paper
- Lined paper
- Pencils & Colored Pencils
- Glue
- Scissors
- Markers (optional)
Using Posters to Enhance Writing
A pre-writing visual can help stimulate and enhance students’ descriptive writing. The use of posters will also expedite the lesson. Colored posters will undoubtedly help the writer with descriptive language and make the process easier and sometimes more enjoyable.
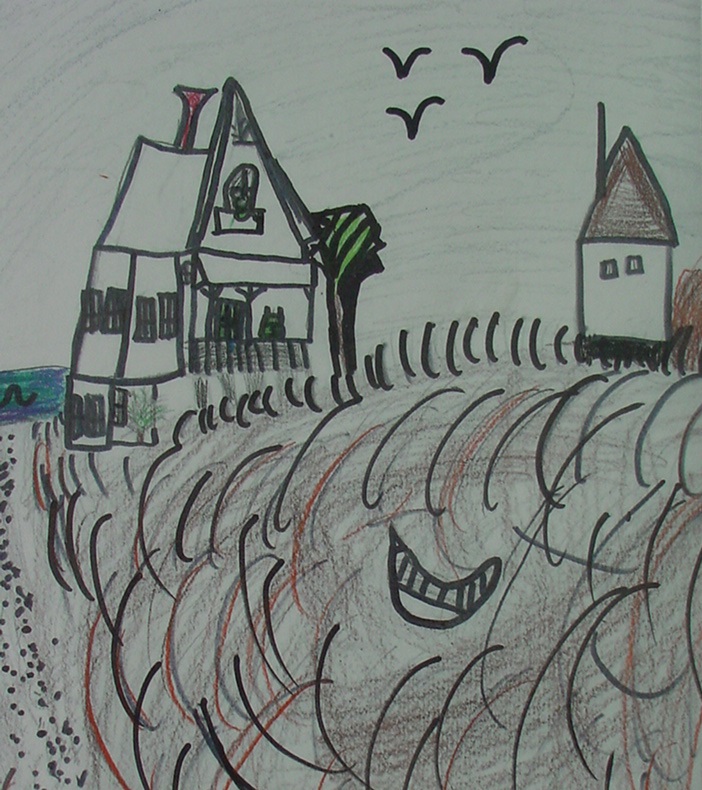

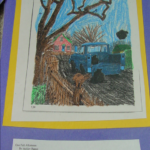
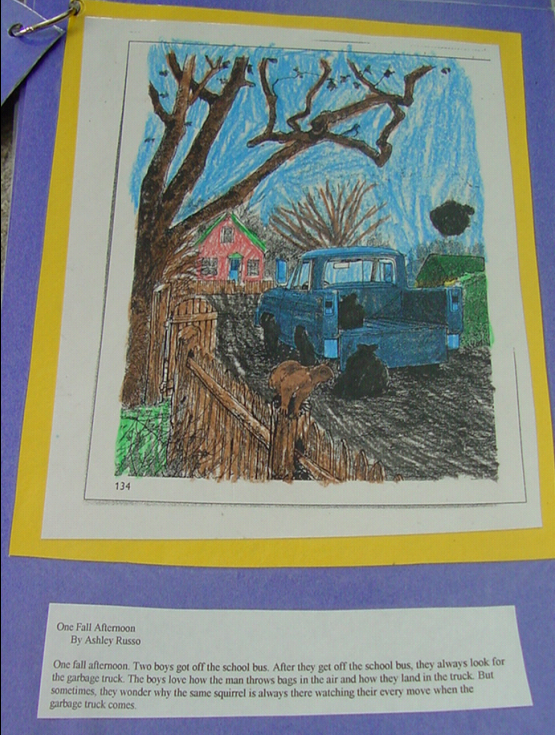
2nd Grade Writing – A student named Priya illustrated a poster titled: The Path. She was immediately inspired to write.
Lesson Plan
* Note: When using verbs, adjectives, and nouns, it is motivating to give the children pictures of animals, people, places or things to describe once a week for practice; ages 5-8. Younger kids may need to dictate their thoughts instead of writing.
It’s time to use posters. It’s time to describe the action seen and use your imagination to create a narrative story, poem, expository paragraph, or enhance vocabulary development. Brainstorming is a wonderful way to generate new and descriptive vocabulary. Leave the vocabulary on a chart for inexperienced writers to use. Try the same with verbs as well.
Circle the descriptive words:
Crashing waves, cold water, quiet shore, salty ocean water, sandy path, white cottage
The shore would not be the same without descriptive words!
1) Choose a special topic to write about and find a poster to match or just use any poster for inspiration. Note: Children can locate posters on-line and in local stores. You can display on a smart board, computer, or hang on bulletin boards and walls. If purchased, you can reuse them continually. Please know that if you laminate the posters it may cause a glare and make it difficult to see throughout parts of a room.
2) If you want the children to have more knowledge about the topic, have them read books about the subject as well.
3) The children can use a selected poster and use the visual to inspire their descriptive or informative writing. If time is allowed for more creativity, have the children recreate the poster by sketching it on white paper, perhaps tracing it in black marker and adding color. Glue the picture onto colored paper for embellishment. Other art mediums are optional.
4) Students are encouraged to use their ‘visual’ to help them generate ideas to write about. You can use a graphic organizer to help organize their thoughts first. This will easily help them transfer those words and phrases into their writing. (teacher discretion)
5) Edit the writing and creatively publish for display (optional).
6) Read orally when done!
7) This activity can easily guide other writing mini lessons. Use of verbs and adjectives, nouns, elaborative sentences, main idea, topic sentences, setting, or plot. (optional)
A Deeper Look
Notice that Priya really used her imagination, obviously relying on some prior knowledge of the shore too. Encourage the children to begin heir writing with a sound shot. Priya use the word “Bang”. This word can immediately get the reader’s attention. The second sentence supports the sound shot and leads the reader right into the writing. Moreover, visual imagery was transferred to visual memory. Now the classmates can visualize a quiet shore along the salty ocean with imagination and more.
Evaluation
In order for incidental learning to occur, move throughout the room to confer and assess where needed. Depending on the skill you are reinforcing, this activity lends itself, but not limited to, easily assessing descriptive sentences, story elements, setting, plot, writing to inform, expository, narrative and poetic writing. Be sure to inform your students about your expectations. Perhaps you can orally assess a particular skill by asking the children to identify parts of a sentence, the main topic or main idea. Their written application will already be completed. Another way to organize your anecdotal notes can be to create a skill chart and check off the skills that have been mastered or need more improvement. See other ways to use this lesson.
Other Ways to Use This Lesson
Imagery has been found to be the single most effective curriculum intervention strategy. Remember to allow the opportunity for your learners to write with visual imagery. Let them see the picture before they write. Train them early to ‘visualize’ and use the details in their writing.
Wall Hangings
You can add drama and excitement to ‘class teamwork’ with the use of wall hangings. Provide the class with a large visual poster in black and white. Encourage small groups to add color within your time allotment. Use their visual as a bulletin board and embellish it with other art mediums if desired. This wall hanging can enhance an already existing subject long-term or short-term as well. Use this visual to inspire your class writing or even use as a mini-lesson and during workshop time too. Note: Placemats are not as big and are quicker and easier to complete. This would be a great individual visual as well.
This lesson can focus on various skills. When you are introducing the purpose of writing with posters, allow the children to draw on previous knowledge (i.e. a story about their topic of choice), as well as be inspired by the pictures. Try this activity every week with posters. Keep a selection of posters to choose from once a week. If you have a computer or smart board, use internet posters from particular websites to inspire a visual image for your writers. Sometimes stores have scenery posters to use as well. Use these visuals to inspire your class. You can utilize your community posters in various mini-lessons too. If you choose to allow your students to illustrate the poster, they can add their picture to their personal writing journals or create a progressive class book with corresponding inspirational or informative writing. This activity can give you an on-going progress assessment as well.
Additionally, allow the children to highlight adjectives and verbs in different colors, identifying its proper use when their writing is complete. Perhaps the children can use scenery posters to inspire their writing about settings or focus on main topics, as well as topic sentences.
Of course, you can also use a poster as a whole class narrative or poetic ‘writing in the round’ lesson. Each student participates by offering one elaborative sentence each, thus, building on the sequence of events or descriptions. Allow time for discussion and encourage the class to work together. The class can copy the story or poem or it can be printed as a final copy if done on the computer or smart board. Attach to colored paper, embellish, and display as desired.
The class can also focus on particular words when their writing is complete. Have them write synonyms and antonyms to increase their vocabulary, or even creatively use their ideas for analogies. Perhaps they can take each sentence and elaborate them for practice. You can also print the class story and cut the sentences into strips and use to put in sequential order. You can also use the sentence strips as sentences to diagram. Have the children pick-apart the sentence, labeling the parts for practice.
Why not use your posters to enhance existing story topics, using a topic sentence, main idea and details. Posters can be great for inspiring riddles too. Use a poster to generate ideas and descriptions about the scene without giving all the information away. End the paragraph with a question and see if other kids can answer the riddle. You will be amazed at the various responses and ideas they will write about the same visual.
Another way to use posters is to take blank paper and fold the opposite sides in towards the middle so the edges touch. Crease the sides real flat. Sketch the poster visual across the top folded edges carefully and add color. It will open like a card with the visual cut in half. Glue the writing on the inside and you can display riddles, expository and descriptive paragraphs, a story, Venn diagram, character chart, etc. Display for others to read by standing it up like a card or simply keep it flat on a table or counter. Share aloud with classmates. Create a bulletin board, collect the writing and add to your classroom library.
About the Author:

Kim Waltmire is a state and national award-winning educator. She holds an honorary seat with the 2006 USA Today All-Star Teacher team. Kim is a graduate from CCSU with a Masters in Early Childhood Education. She published a writing & literacy book; Picturesque Writing, now self-published as The Art of Visual Writing for elementary teachers K-5. Kim also published a Read-Along Series for primary grades, coupled with spelling, grammar, science and social studies lessons for k-12 with a home-school company. Her writing and Project Based Learning strategies were recognized and published in the Creative Classroom Teacher’s magazine; May/June 1998 issue. She was recognized for her educational contributions and Project Based Learning by Oprah Winfrey, interviewed on CNN, Fox News, and honored by the CT State Governor several times. Kim has taught elementary school for 28 years and presently an Educational Literacy Consultant. Kim’s passion is teaching writing literacy for all learning styles.
- Twitter: @kwaltmire
- LinkedIn: www.linkedin.com/in/kimwaltmire/
- Website: www.visualccl.com