Looking for a creative, hands-on craft activity that kids and teens will love? This DIY Flower Jewelry Dish is a perfect project for afterschool programs, recreation centers, art classes, or summer camps! Using air-dry clay, participants can design their own flower-shaped dish – great for holding jewelry, trinkets, or small treasures. This 10-step craft encourages self-expression and fine motor skills, while offering a fun way to explore working with clay and painting. The clay also offers a tactile sensory experience. It’s a budget-friendly activity that makes a great take-home gift or keepsake! This can also be a great Mother’s Day gift.
Supplies Used:
- Air-Dry Clay
- White Glue
- Acrylic Paint
- Paintbrush
- Water (1 cup)
Stop Motion Video Tutorial
We tried a fun in-house stop motion video tutorial that shows each step for creating the clay flower. You can also read each step below in the instructions!
Instructions
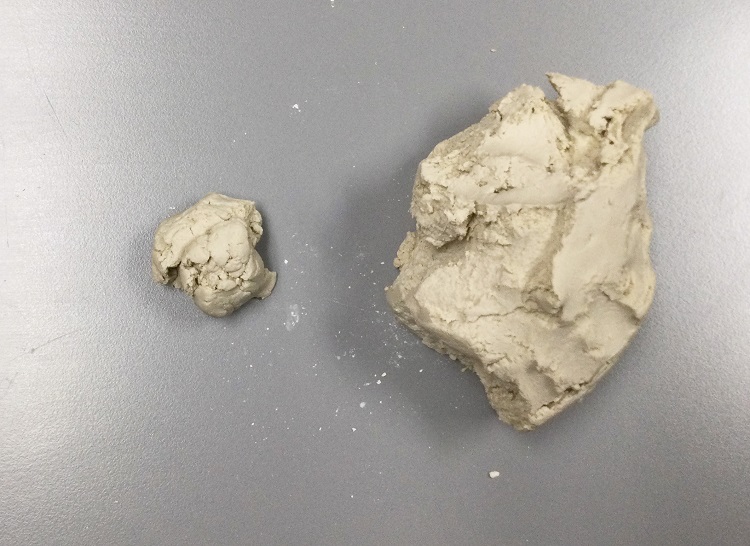
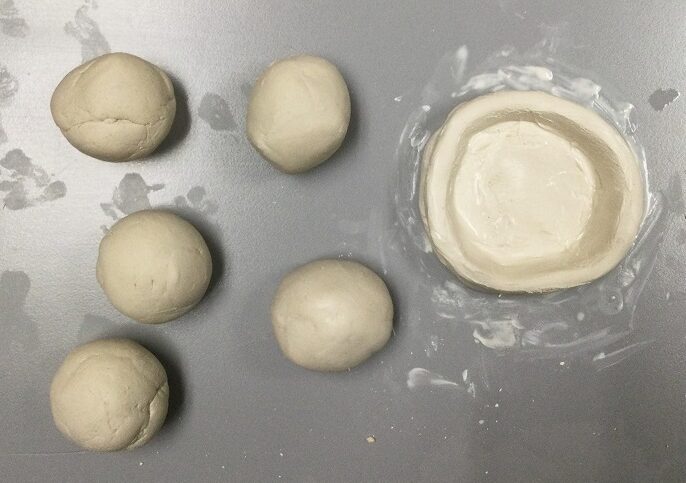
Step 1: Break off 5 pieces of the air-dry clay.
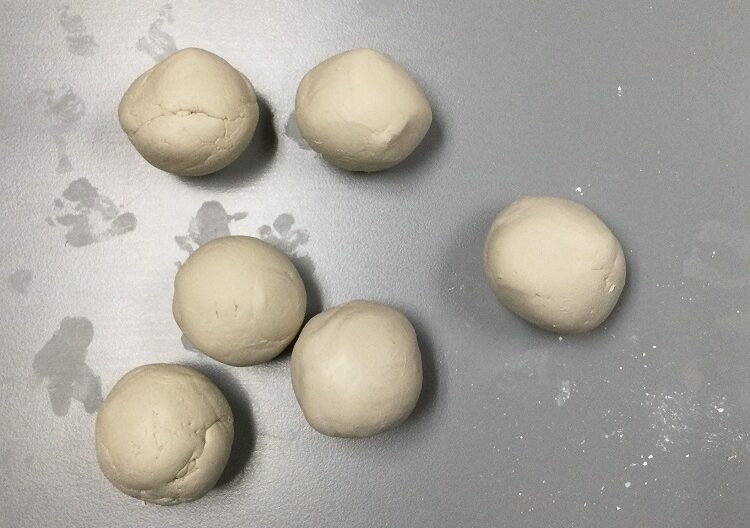
Step 2: Taking 1 section, add some water to your hands and roll the section in a ball. Tip: If the clay is dry or begins breaking, add a little more water. Repeat this for all the sections you created.
Step 3: Flatten one of the spheres, creating a flat circle. Tip: Make sure this circle is at least 1/4″ thick.

Step 4: Take some more clay and roll it into a cylindrical piece.
Step 5: Add this onto the flatten piece using water to seal the two pieces together. This creates a rim.
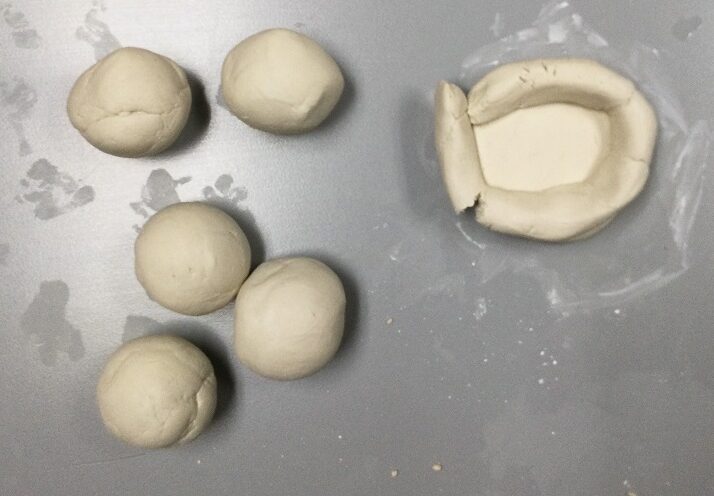
Step 6: Using more water, smooth out the two edges and make the two pieces into one almost bowl – like structure. This is the center of the flower.
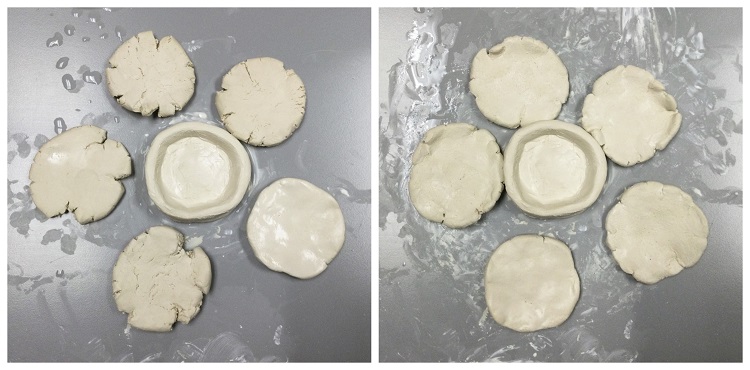
Step 7: Flatten each of the remaining sections and round them out using water to seal any cracks (creating 5 flat circles), these are the pedals of the flower.
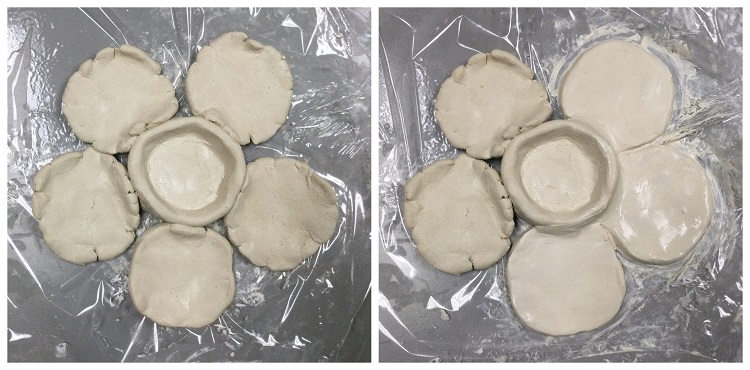
Step 8: Form the flower by connecting each of the pedals to the outside of the cylinder created in step 7 by wetting the side on the cylinders and firmly connecting the pedal. Tip: I used plastic wrap under my flower to ensure that I could move it once I was satisfied with the shape.
Step 9: Using more water, smooth out the edges and any cracks in the clay. This will help make the clay pieces into 1 piece.
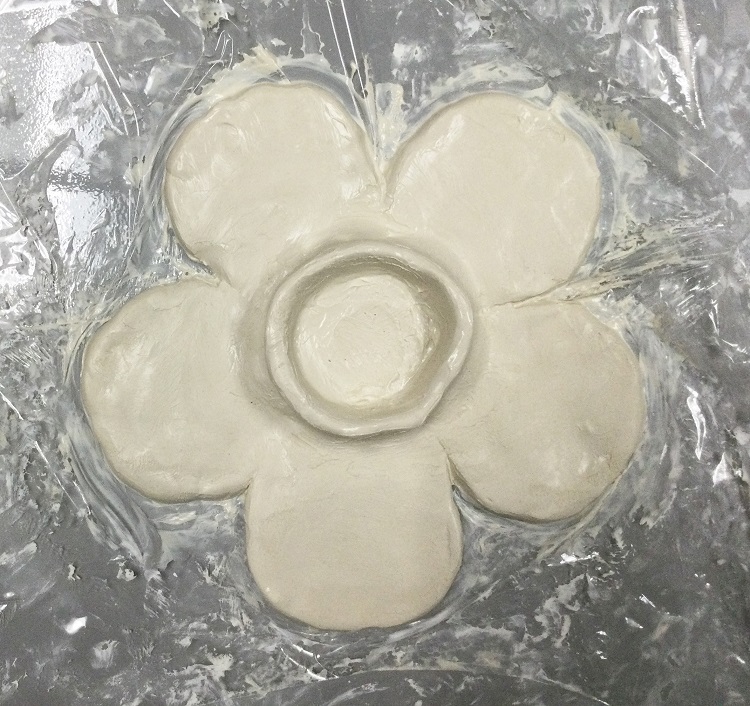
Step 10: Once your clay dries,use a paintbrush and add acrylic paint! You can paint the whole flower the same color and add designs, or have a different color for each petal, or just have the middle a different color. There are so many fun variations you can choose.
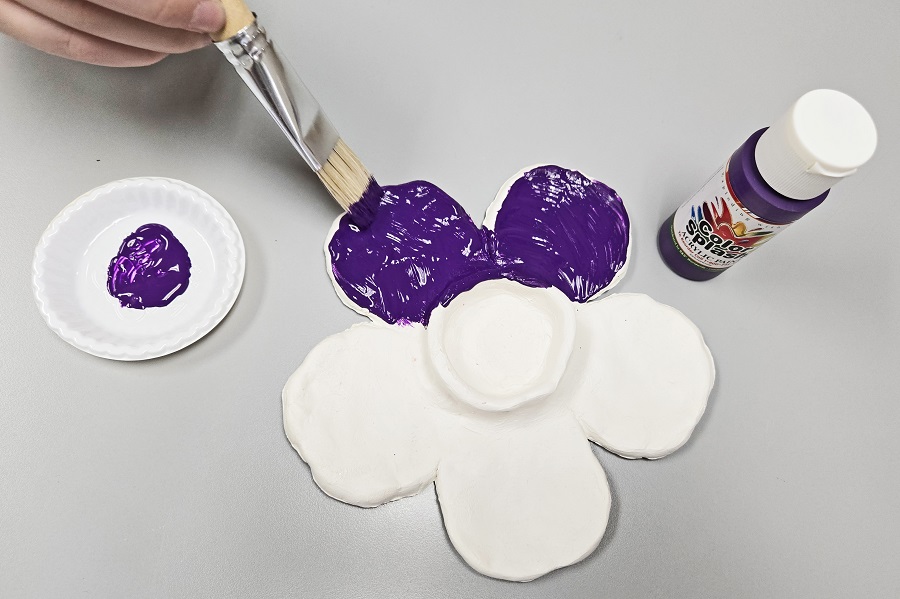
Tip: Once the paint dries, it will have a matte look. You can add modge podge for a more clear coating.
Here is an example of a flower painted by a staff member’s daughter!
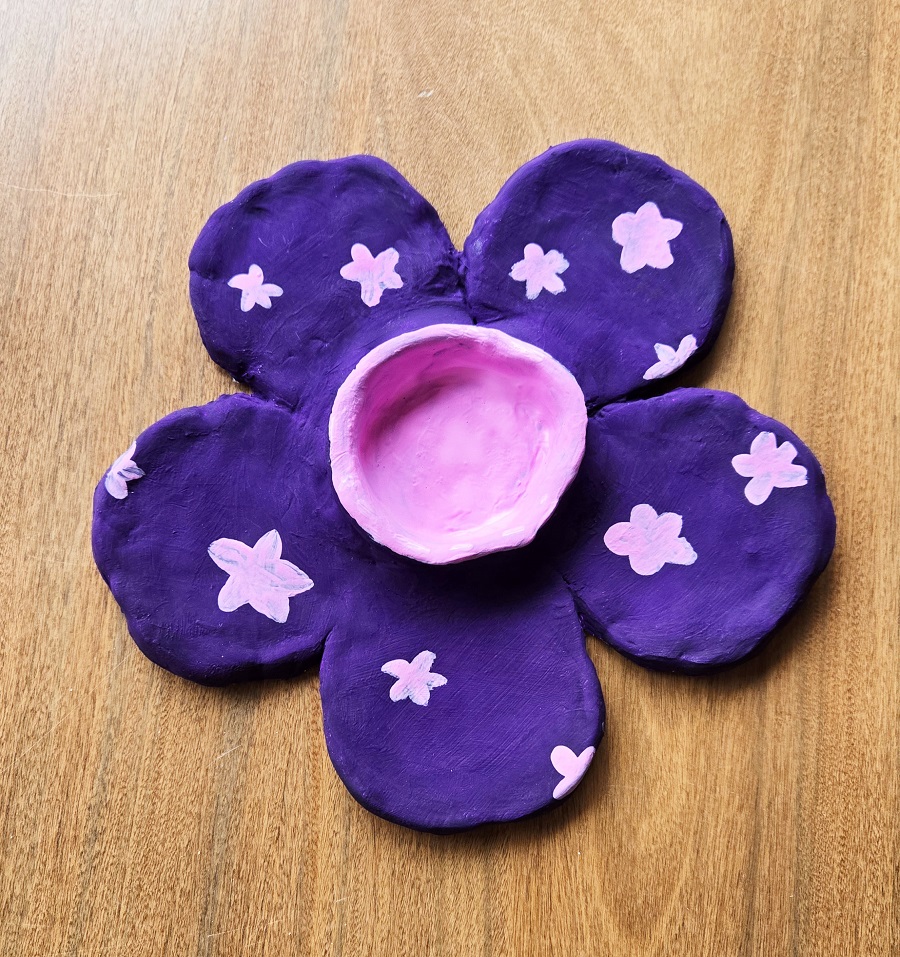
You can use your finished flower as a decoration, but also to hold some small items like earrings or pins.