 Arts & Crafts
Sensory Tubes Craft Kit – A Multi-Sensory Group Activity
Arts & Crafts
5 min read
Share

Share
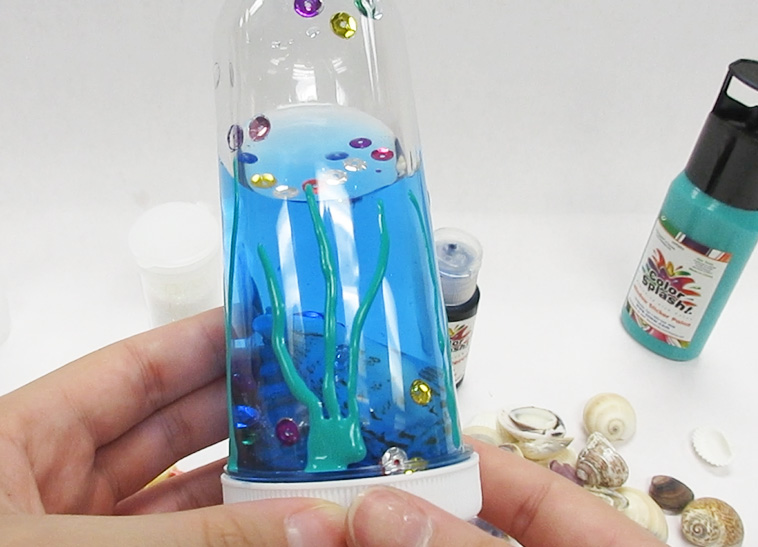
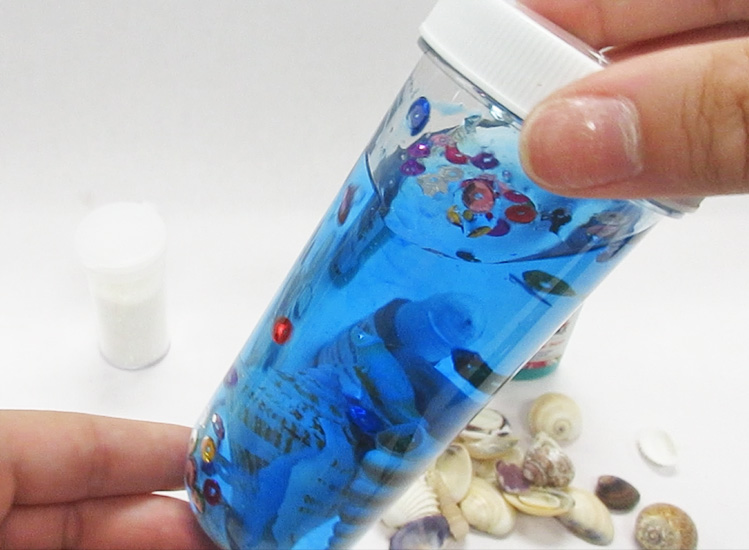
Looking for a fun, hands-on craft project that’s easy to set up and sure to be a hit in any setting? Our Sensory Tubes Craft Kit offers an engaging way to boost creativity, relaxation, and provide multi-sensory exploration for all ages. In this tutorial, we’ll walk you through each step for your group to create their own sensory tube. This activity is perfect for afterschool programs, recreational centers, and senior living facilities, as it provides both a calming and interactive experience for participants.
Sensory tubes are more than just funn – they encourage self-expression and help reduce stress, making them ideal for diverse age groups and settings. Kids in afterschool programs will love the opportunity to experiment with colors and textures, while adults in senior living communities can enjoy a soothing, therapeutic activity that boosts mood and cognitive engagement. Let’s dive in and explore how easy and enjoyable it is to make sensory tubes that sparkle, swirl, and calm the mind!
Sensory Tubes Craft Kit includes:
Additional Supplies:
Everyone in your group should have 1 sensory tube, 6 shells, 6 sequins, 6 fish beads. The glitter, liquid watercolor and window cling paint can be shared among the group.
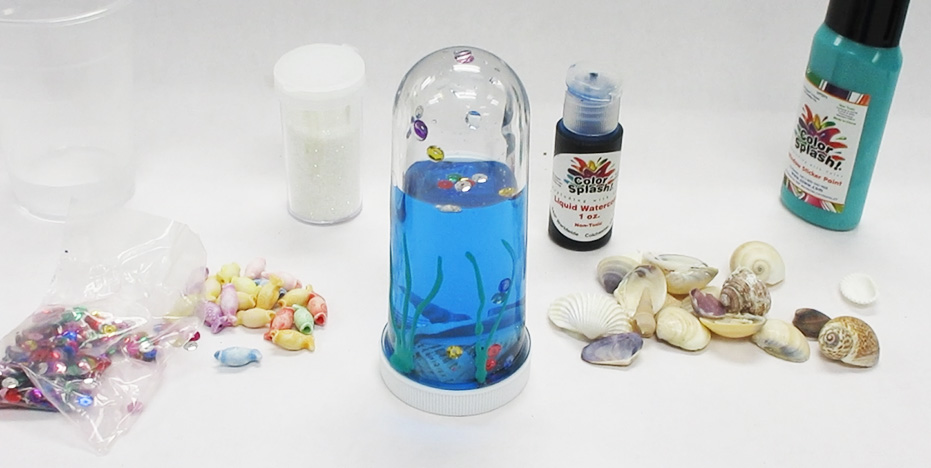
Step 1) Start by unscrewing the lid from your sensory tube and setting it aside.
Step 2) Now, gather your shells, sequins, and fish beads – about six of each – and drop them into the empty tube. Add a few shakes of glitter for an extra sparkle.
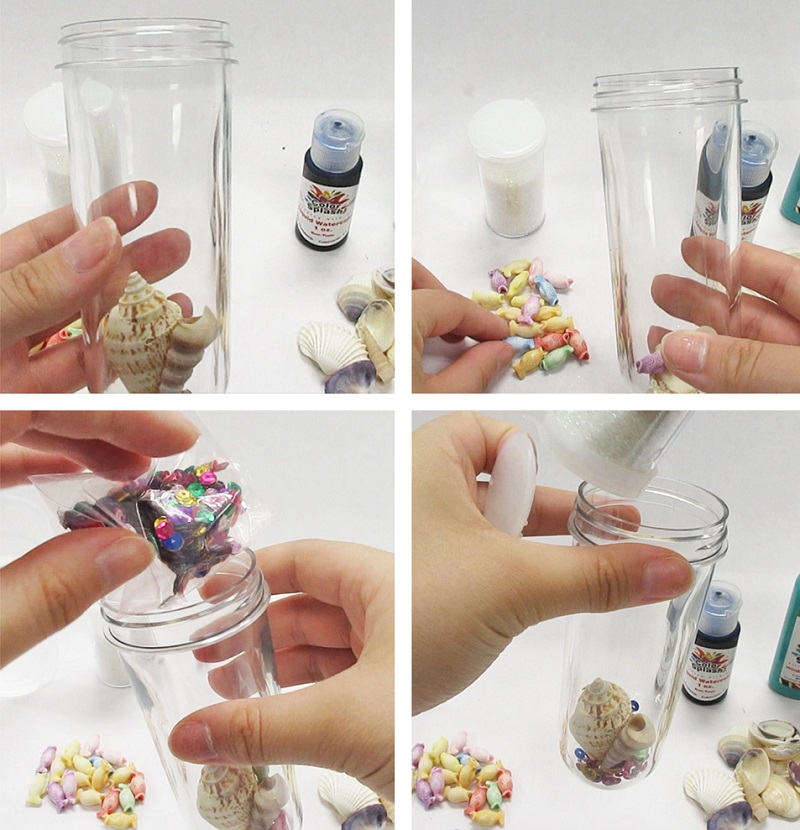
Step 3) Carefully fill the tube to the top with water (you can reverse this step with Step 4 if desired. We wanted to see how it looked with clear water!
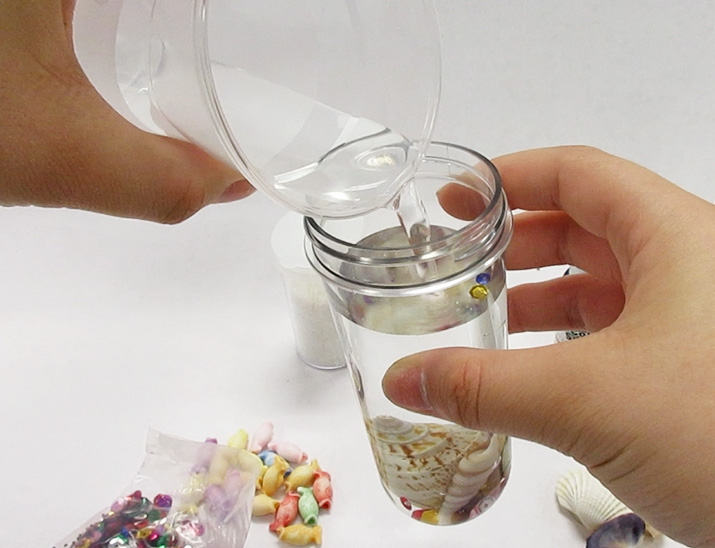
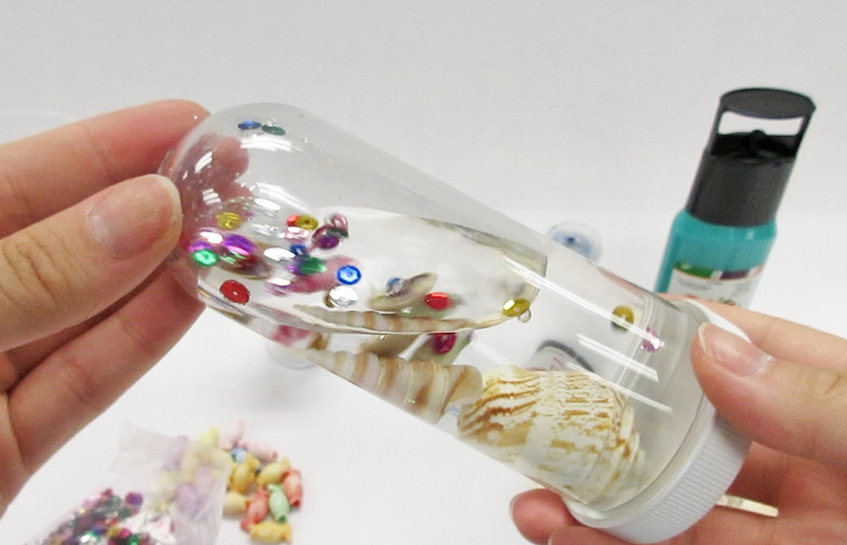
Step 4) Carefully add 1 to 2 drops of blue liquid watercolor. You can drop it in from the bottle, or use a paint pipette.
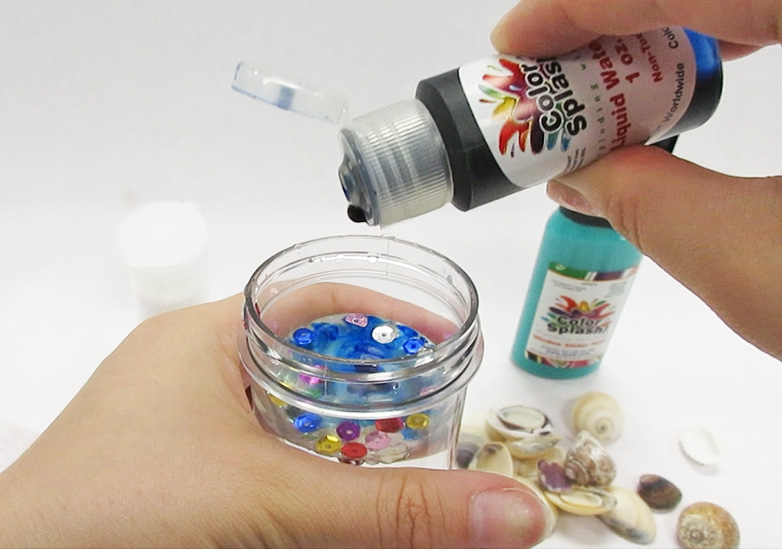
Step 5) Screw the top on tightly, and watch as the color swirls around for sensory fun!
OPTIONAL: If you want to make sure there are no leaks, you can apply a thin line of strong glue around the inside rim of the lid before screwing it back on tightly. Once the lid is secure, wipe away any excess glue and give it some time to dry.
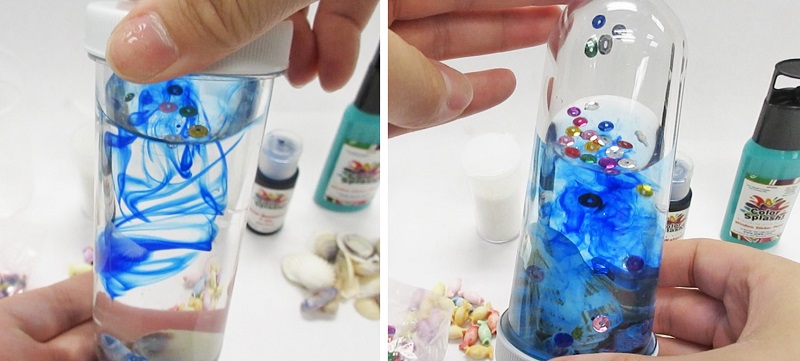
Step 6) Using a window cling paint squeeze tube, carefully draw seaweed lines up the outside of the tube, reaching toward the curved top. Allow the paint to dry, and you’ll have a beautiful underwater scene ready to be explored!
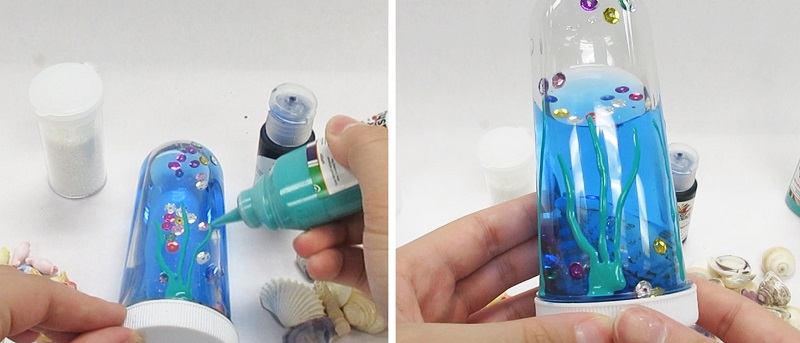
Creating sensory tubes with this craft kit engages multiple senses, making it an immersive, multi-sensory experience. Here’s how each sense comes into play:
1) Visual Sensory Stimulation
2) Auditory Sensory Stimulation
3) Tactile Sensory Stimulation
Together, these sensory elements make the sensory tube craft an enriching and calming activity, perfect for various settings where participants can benefit from multi-sensory engagement.
1) For a slower moving sensory tube, try using mineral oil instead of water as the liquid. But remember, the blue watercolor paint will not dissolve in mineral water, so the appearance would be clear water instead of blue.
2) Window cling paints can be purchased in many colors to decorate the outside of the jar in any theme or style.
3) Make different themes. Instead of using the blue coloring, leave the water clear and add trinkets to make any one of these theme ideas:
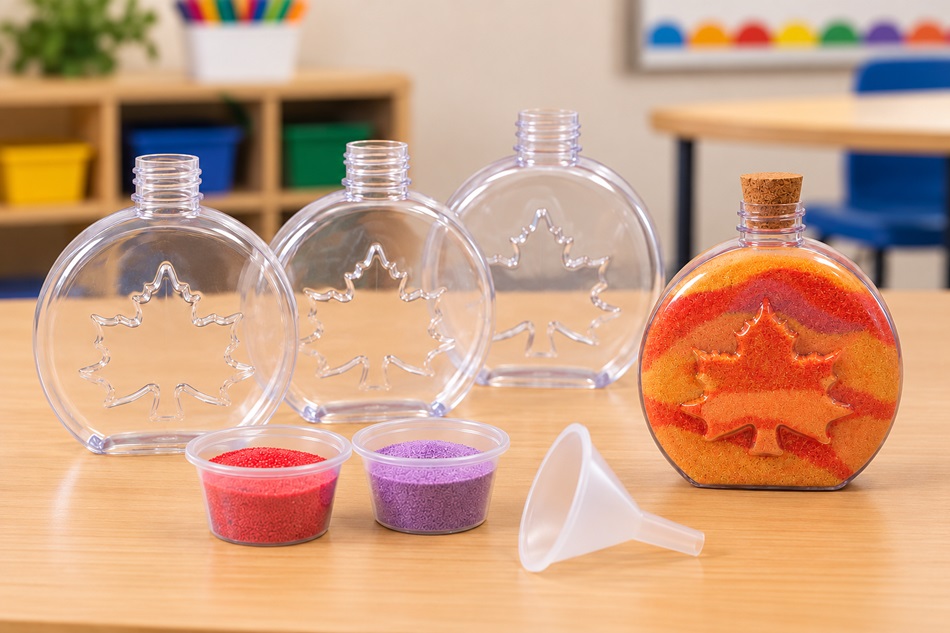
Looking for a fun and easy fall craft to enjoy with your group? Sand art is a colorful, hands-on activity that encourages creativity, provides a sensory experience, and gives everyone the chance to make something unique. Whether you’re planning a classroom activity, an afterschool craft, a recreation program, or a seasonal activity for seniors, sand […]
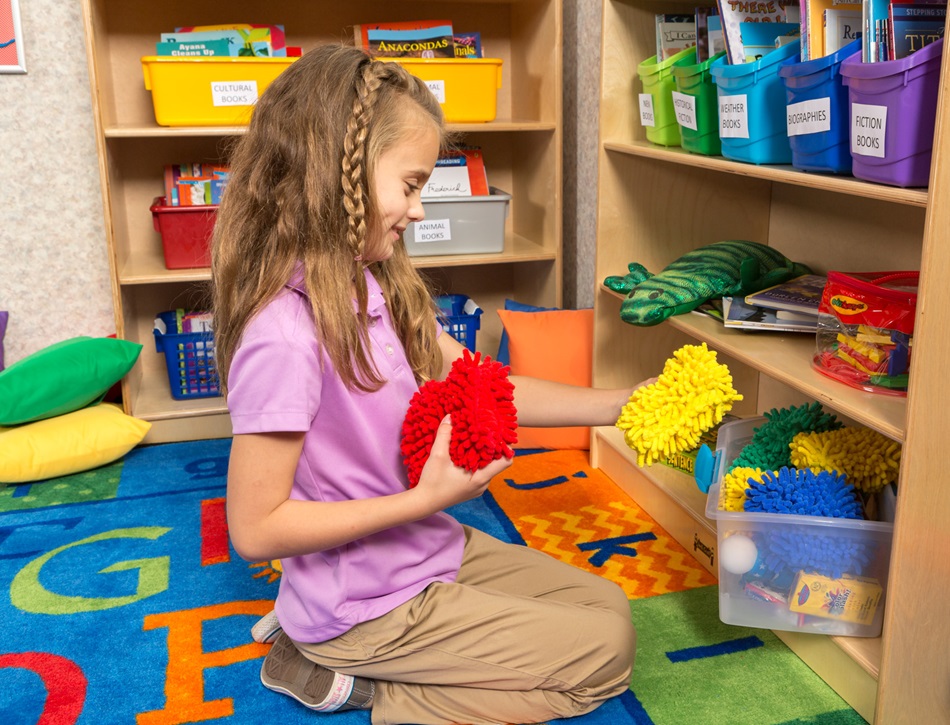
Children take in sensory information all day through sight, sound, touch, movement, taste, and smell. Most of the time, the brain processes this information without much thought. For some children, however, sensory input can be difficult to manage. These differences can affect how a child participates in the classroom. A student who frequently moves, touches […]
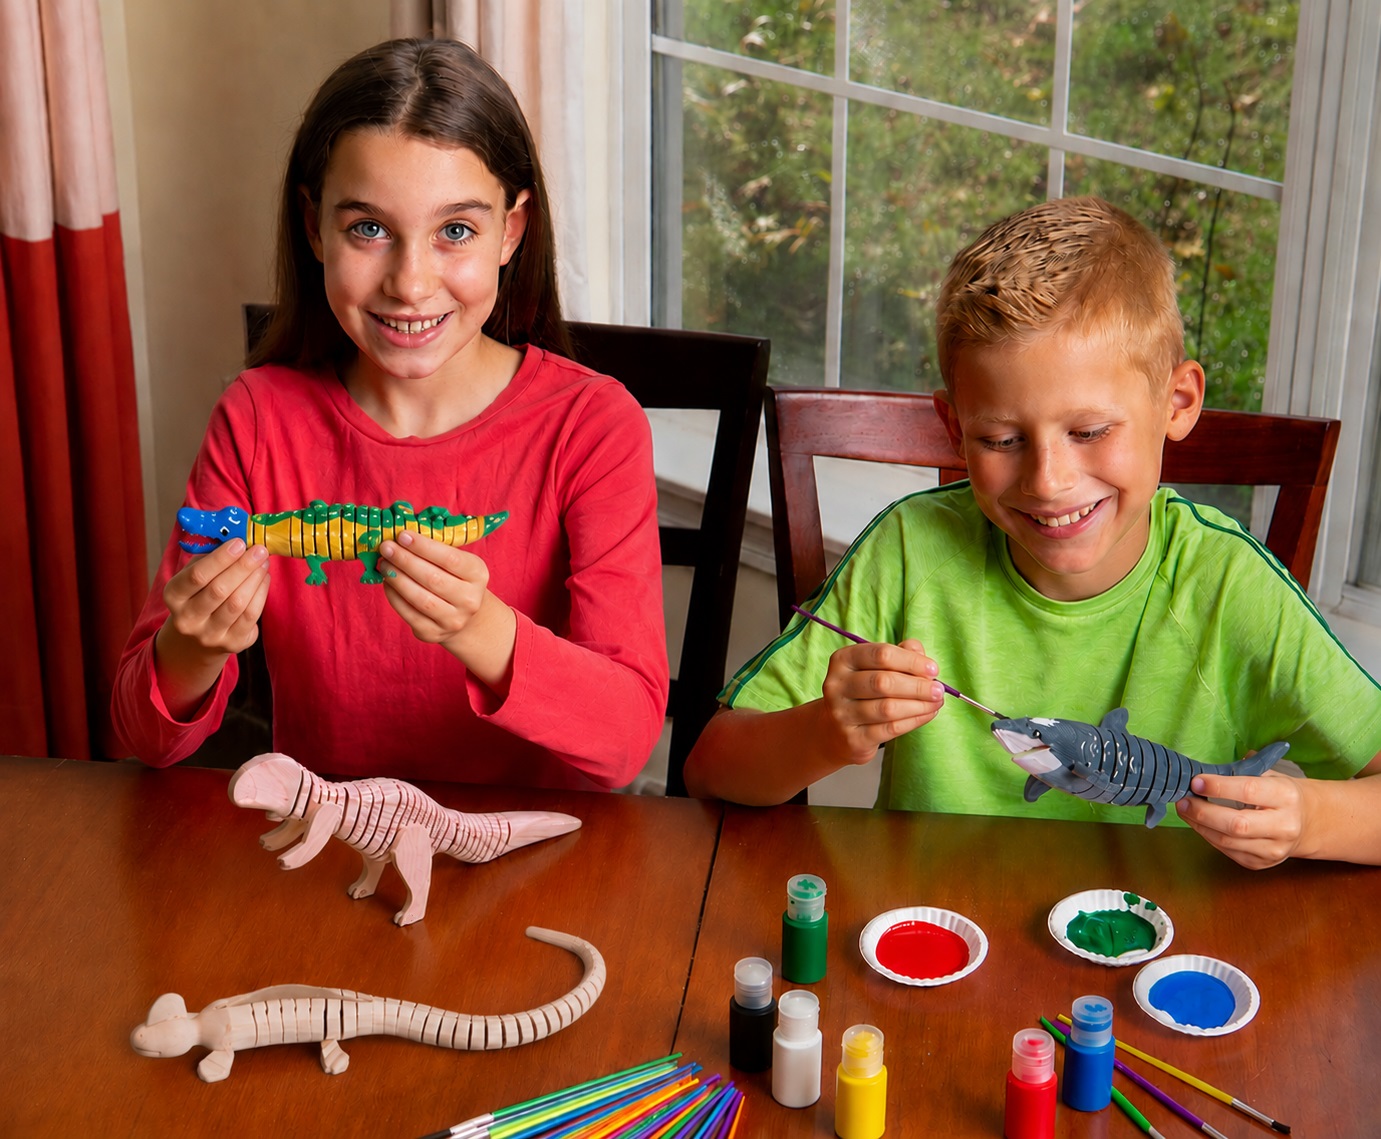
What if a craft didn’t stop being fun once the paint dried? Our Flexible Wooden Animal Craft Kits combine creativity with movement, giving kids a project they can decorate, bend, wiggle, slither, and play with long after craft time is over. Made from cleverly notched wood, these animals bend and flex with simple movements of […]
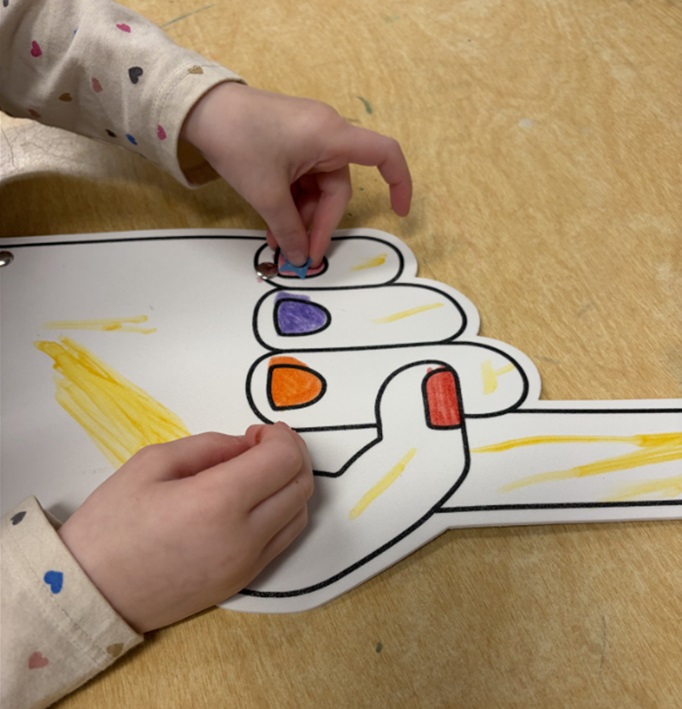
As an Occupational Therapist working in an Elementary School, I find it important to find fun ways to engage my students while addressing skills they need for functional independence. As we prepared for the end of year school events like Unified Sports Field Day, School Wide Field Day, Spirit Assemblies and more, my students were […]
Are you an educator, program leader, or creative thinker with ideas to share? We’re always looking for passionate contributors to help inspire our community. Whether it’s a lesson plan, activity idea, success story, or helpful tip — your voice can make a difference.
Interested in contributing? Email us at [email protected] to get started.
Leave a Reply