
 Arts & Crafts

Get ready to roar with excitement as we dive into a fun and imaginative crafting session! If you’re on the hunt for an enjoyable and creative activity to entertain your group, look no further. In this blog post, we’ll guide you through the process of creating a fun DIY doily lion construction paper craft for kids. With basic materials and easy-to-follow instructions, this project is simple yet allows your group to create something that they take pride in, and let their artistic talent shine! So let’s embark on a roarsome journey into the world of crafting and unleash the wild creativity within!
Materials:
- Doilies
- Yarn
- Construction Paper
- Wiggly Eyes
- White Glue

Step 1: Use a pencil to lightly trace around the outer edge of the doily, making a circle on orange or brown construction paper. For this tutorial I used orange construction paper. The circle should be about 4.5″ in diameter (slightly larger than the doily).
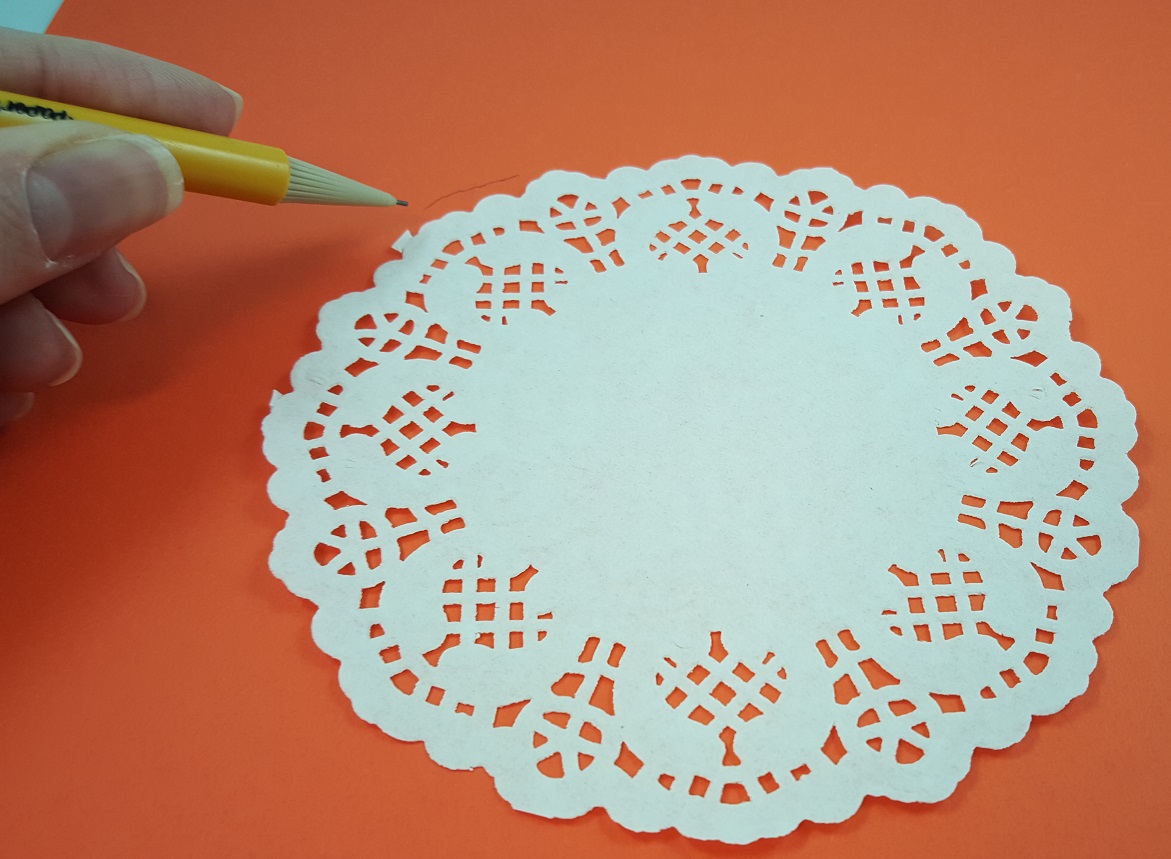
Step 2: Cut out the orange circle and set it aside.
Step 3: Cut out a circle with yellow construction paper. The circle should be 1 inch smaller in diameter. Tip: To make the circle to size, use an extra doily and cut the center out. Then trace the circle onto the yellow paper.
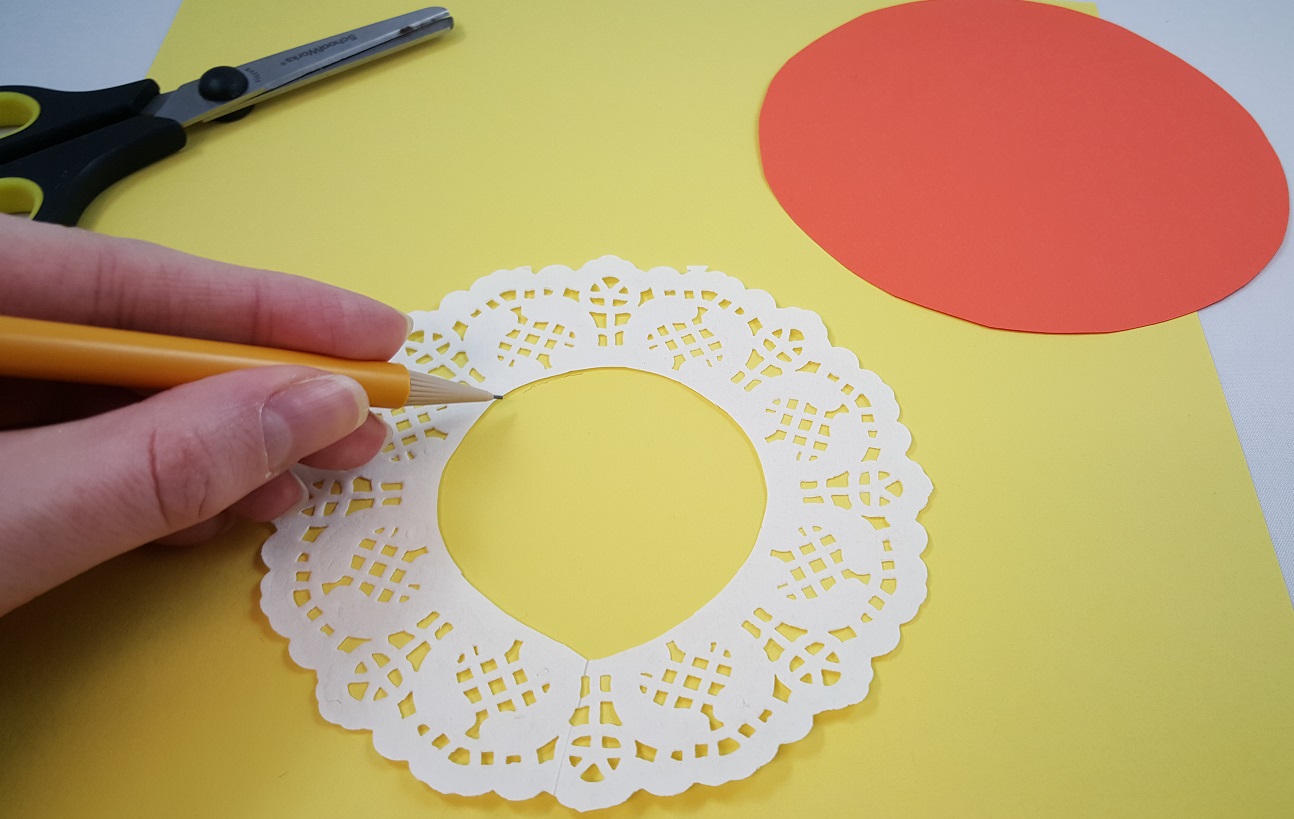
Step 4: Glue the doily to the center of the orange circle, and glue the yellow circle to the center of the doily.
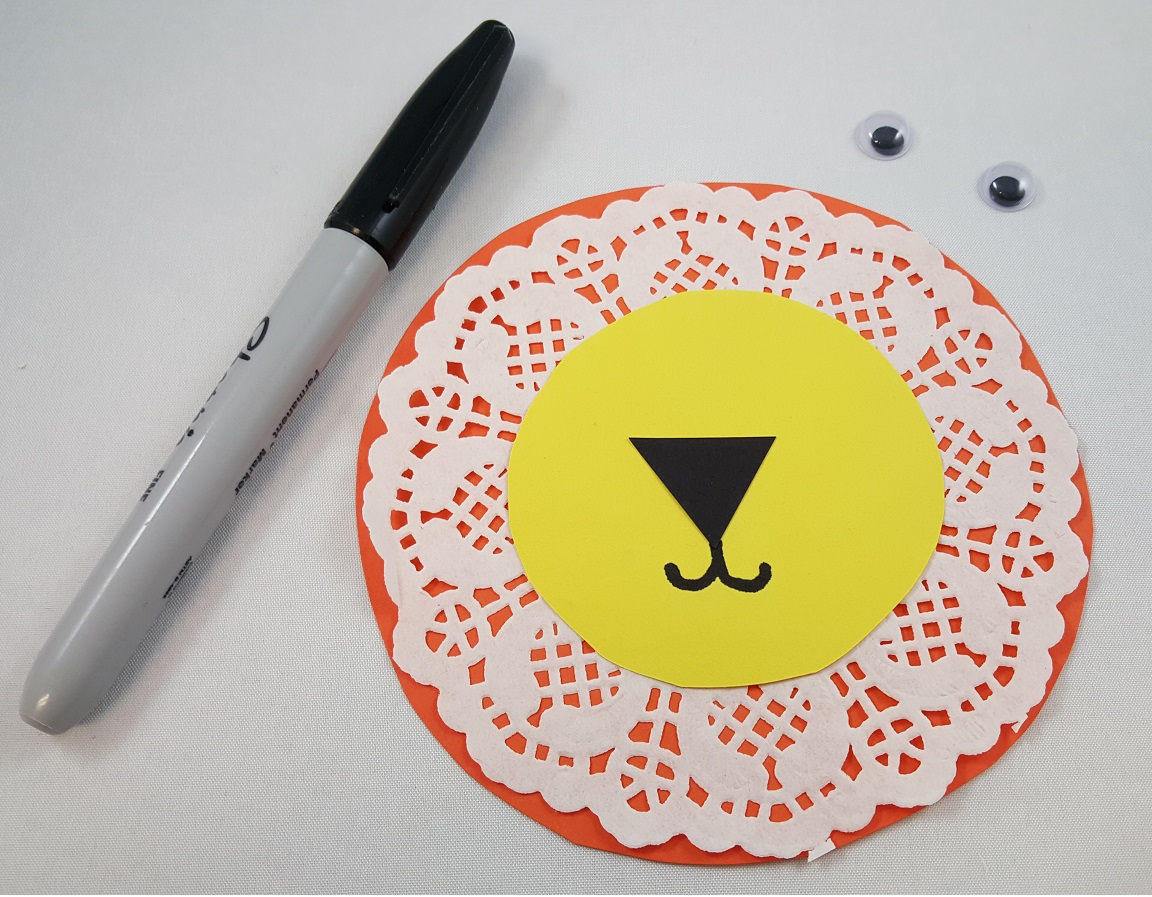
Step 5: Cut a small triangle out of black construction paper for the nose. You can choose from a few different types of triangles. Glue the triangle to the center of the yellow circle.
Step 6: Use a marker to draw a simple mouth. Then glue the wiggly eyes on each side of the nose.
Step 7: Cut a piece of yellow yarn, about 9 inches long. Unravel the yarn (it should unravel easily into 4 strands) and arrange it in a circle around the face of the lion. This is his mane.
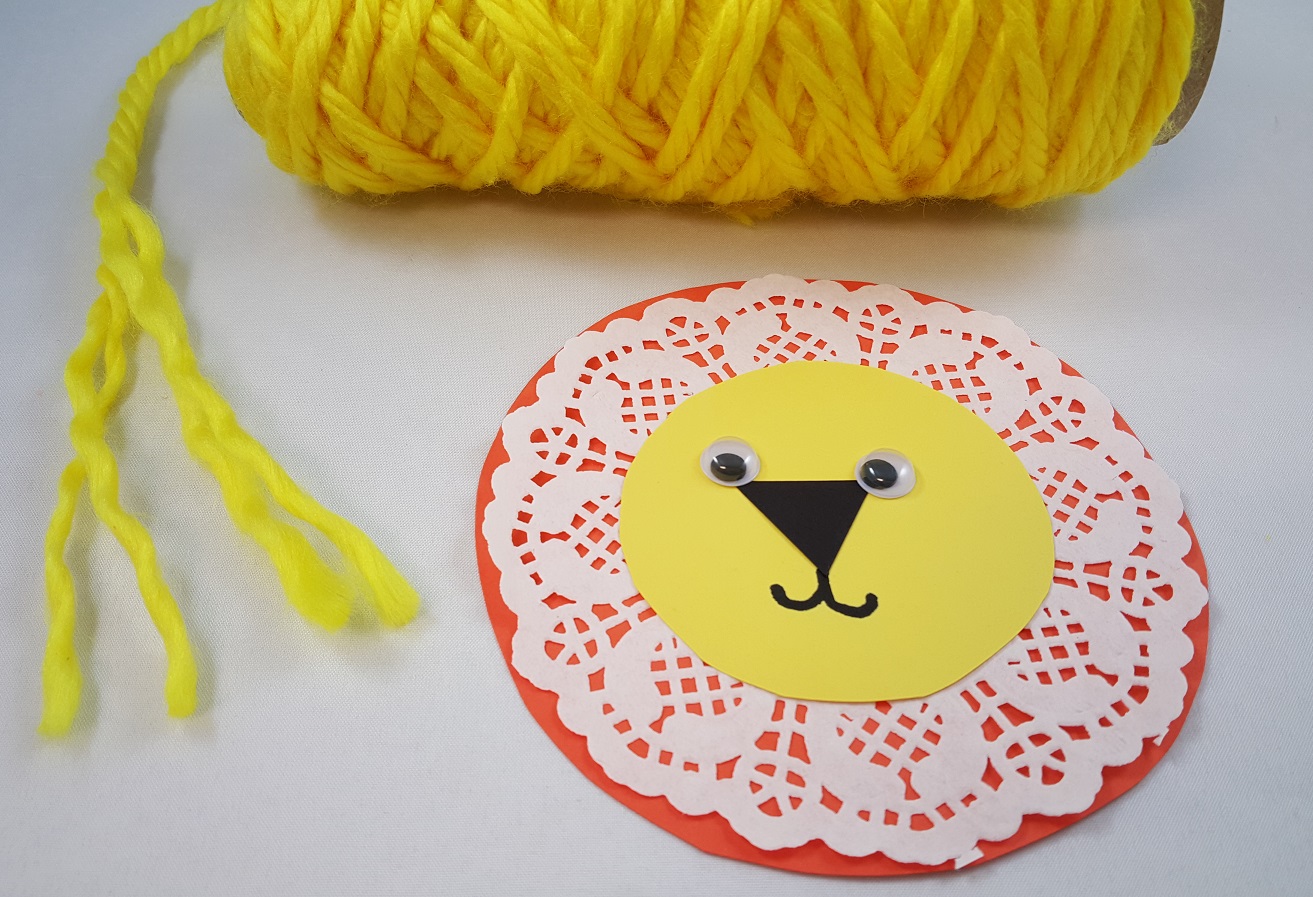
Now you have an adorable doily lion! Create different colors and different nose shapes for each lion so they each have their own personality.
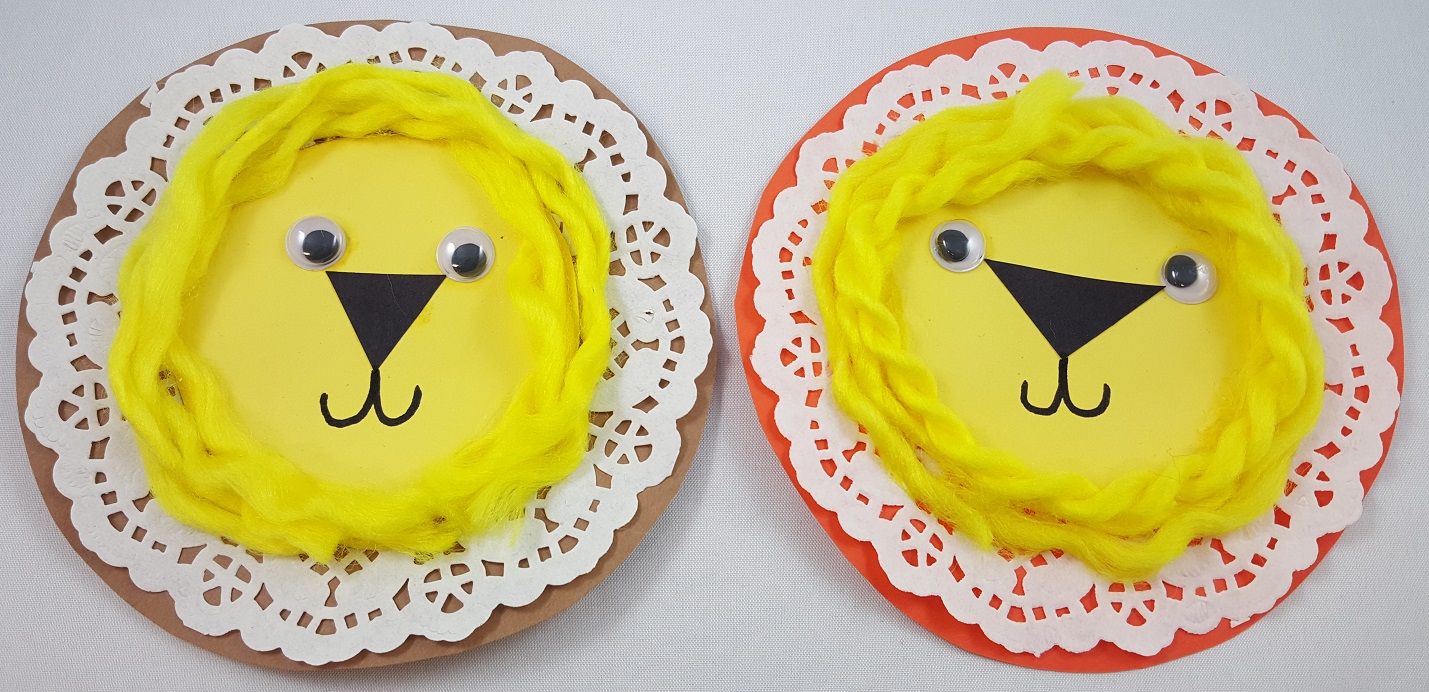
Mother’s Day Paper Craft – Doily Lion Card
You can also make this into a Mother’s Day craft! Use a sheet of construction paper (I used orange to match the background) and glue the lion in the center. This is the “O” in Mom. Then use pipe cleaners to create the letter “M” twice. Glue those to each side of the lion to spell “MOM”. Then kids can spell out something fun, like “I love you and I’m not lion” at the bottom with foam letters. Mom will love this and can hang it on the refrigerator!
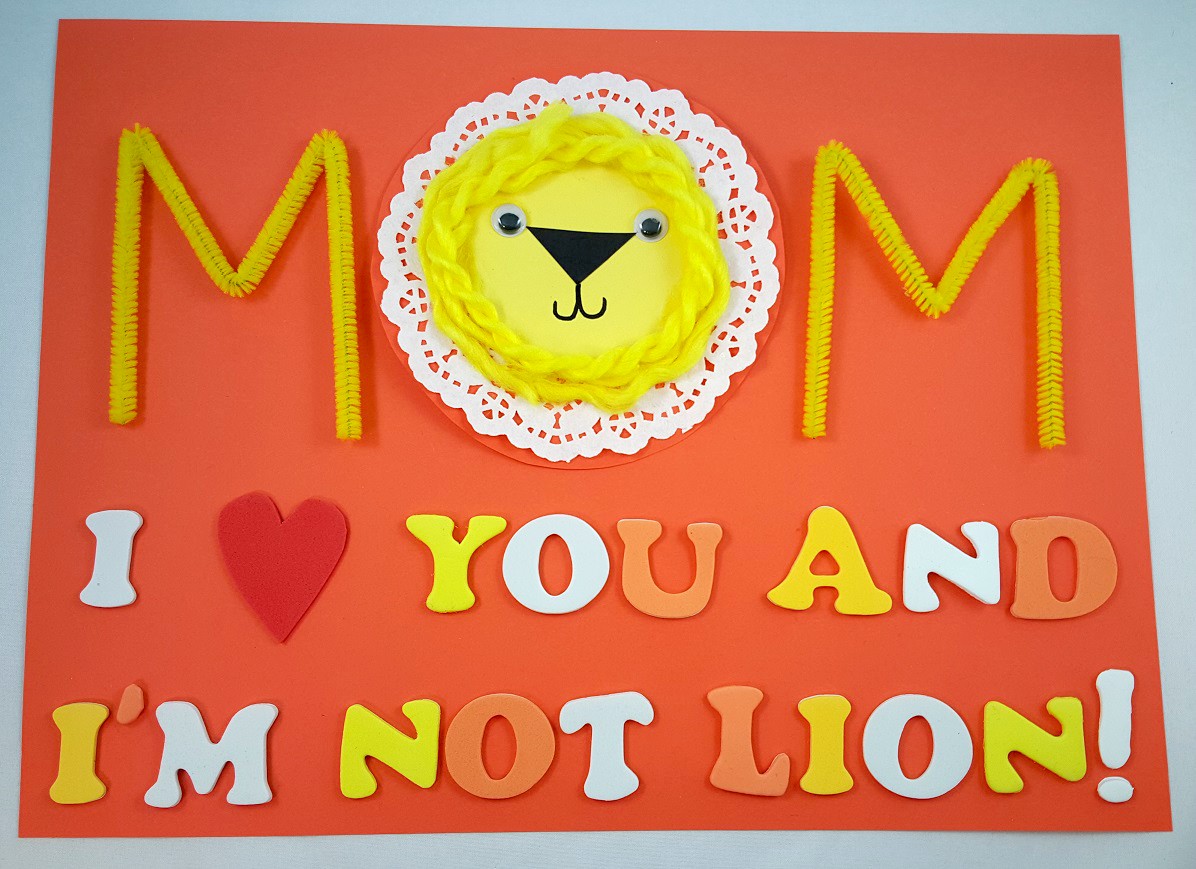
-
[…] For a simple DIY craft for younger age groups, make these little lions with doilies, yarn, construction paper, wiggly eyes, and glue. View the tutorial here. […]
-
[…] For a simple DIY craft for younger age groups, make these little lions with doilies, yarn, construction paper, wiggly eyes, and glue. View the tutorial here. […]
-
[…] wiggly eyes, and yarn to create this adorable lion card. Check out our tutorial on how to make this Doily Lion Paper Craft. Then kids can add our foam letters to write something meaningful to show Mom how much […]
Leave a Reply