 Arts & Crafts
DIY Clay Flower Craft – Hands-On Functional Craft Project for Kids & Teens
Arts & Crafts
3 min read
Share

Share
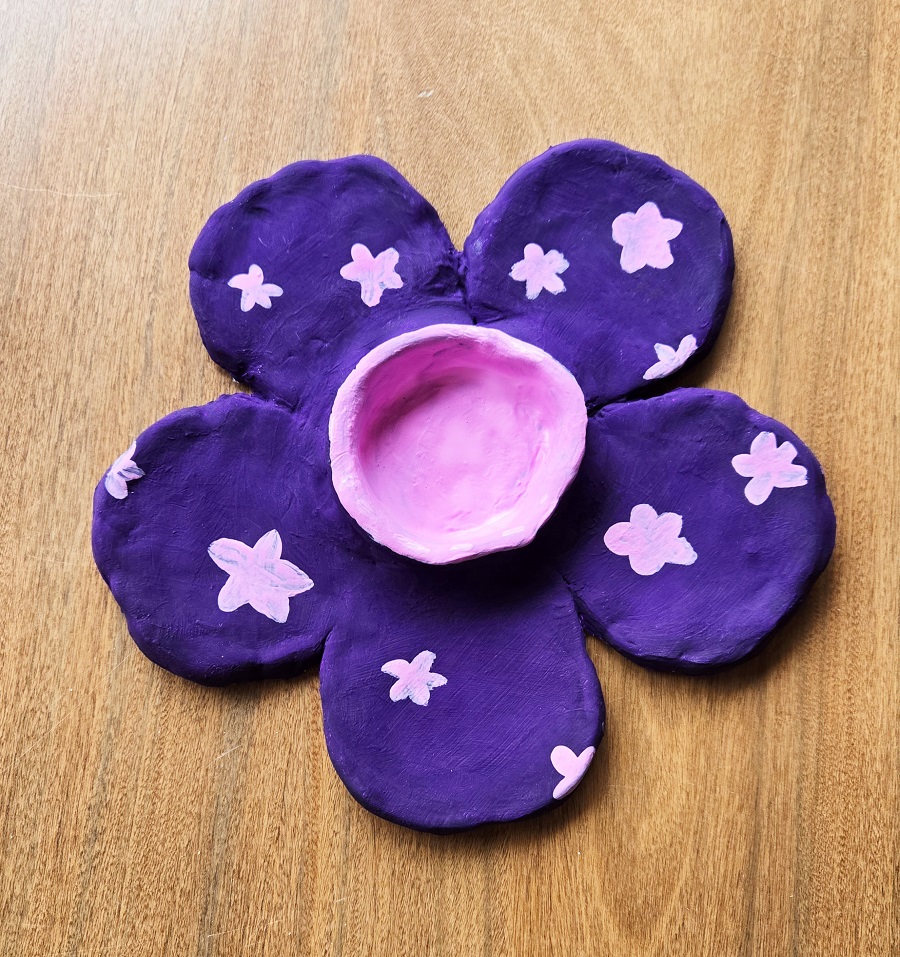
Looking for a creative, hands-on craft activity that kids and teens will love? This DIY Flower Jewelry Dish is a perfect project for afterschool programs, recreation centers, art classes, or summer camps! Using air-dry clay, participants can design their own flower-shaped dish – great for holding jewelry, trinkets, or small treasures. This 10-step craft encourages self-expression and fine motor skills, while offering a fun way to explore working with clay and painting. The clay also offers a tactile sensory experience. It’s a budget-friendly activity that makes a great take-home gift or keepsake! This can also be a great Mother’s Day gift.
Supplies Used:
We tried a fun in-house stop motion video tutorial that shows each step for creating the clay flower. You can also read each step below in the instructions!
Instructions
Step 1: Break off 5 pieces of the air-dry clay.
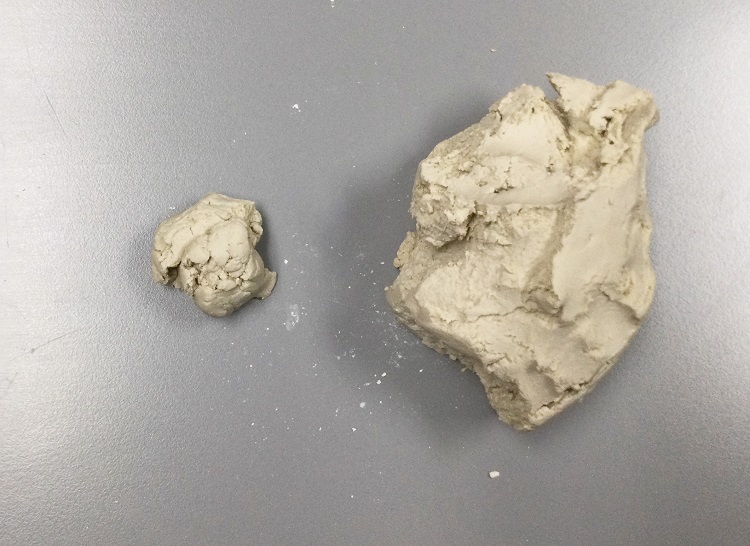
Step 2: Taking 1 section, add some water to your hands and roll the section in a ball. Tip: If the clay is dry or begins breaking, add a little more water. Repeat this for all the sections you created.
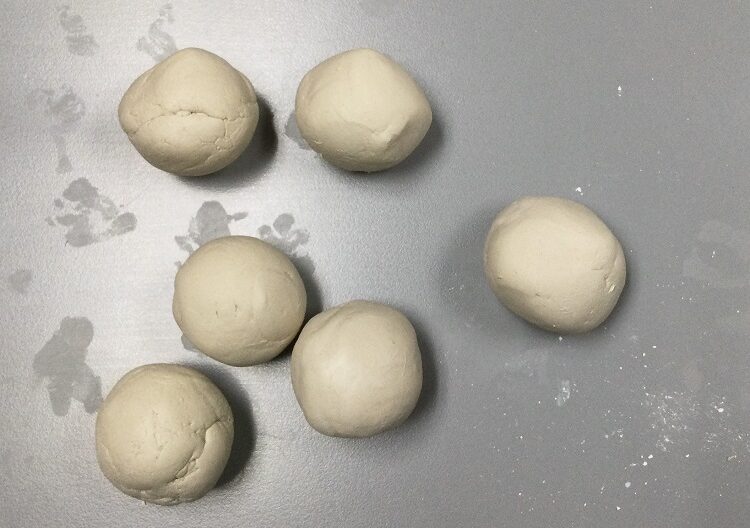
Step 3: Flatten one of the spheres, creating a flat circle. Tip: Make sure this circle is at least 1/4″ thick.
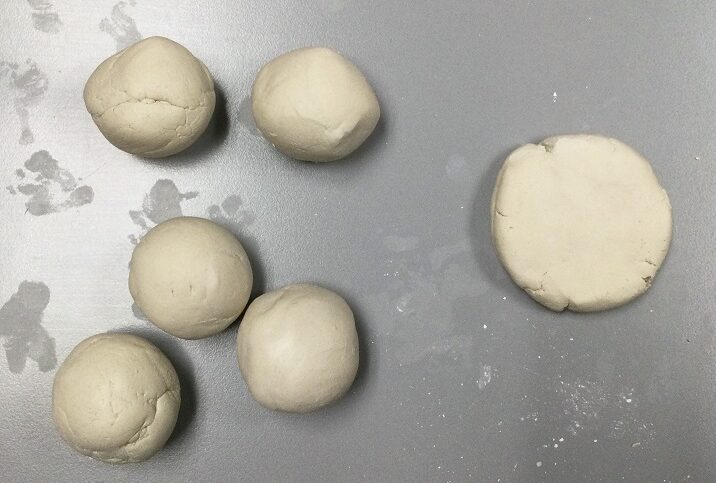
Step 4: Take some more clay and roll it into a cylindrical piece.
Step 5: Add this onto the flatten piece using water to seal the two pieces together. This creates a rim.
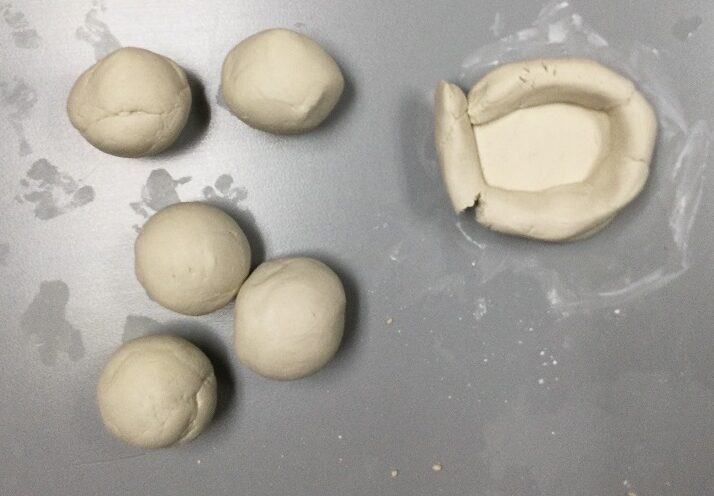
Step 6: Using more water, smooth out the two edges and make the two pieces into one almost bowl – like structure. This is the center of the flower.
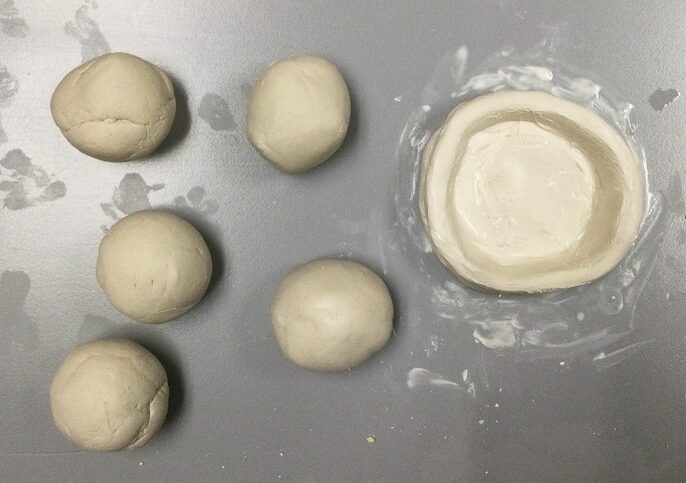
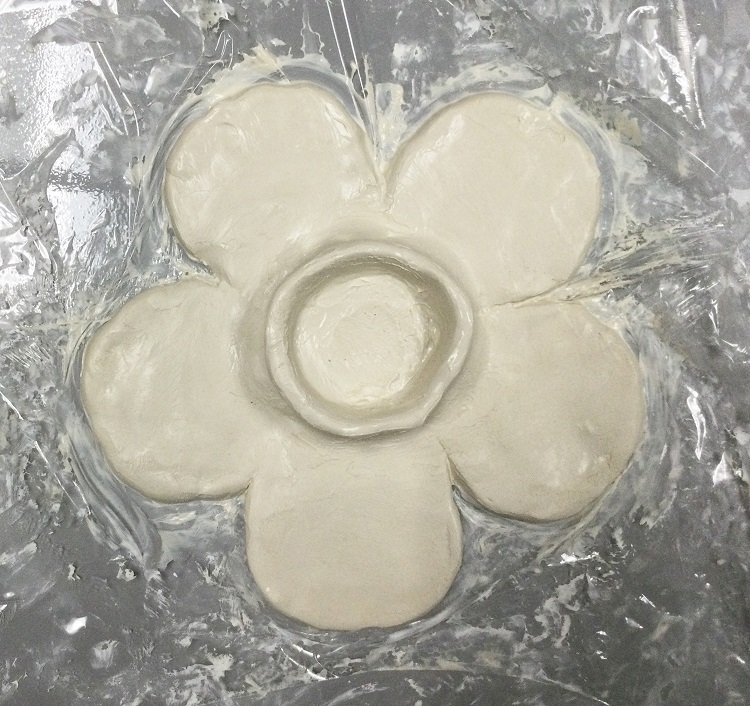
Step 7: Flatten each of the remaining sections and round them out using water to seal any cracks (creating 5 flat circles), these are the pedals of the flower.
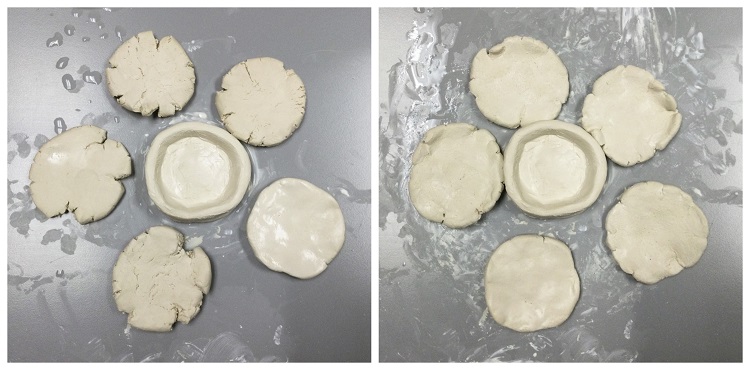
Step 8: Form the flower by connecting each of the pedals to the outside of the cylinder created in step 7 by wetting the side on the cylinders and firmly connecting the pedal. Tip: I used plastic wrap under my flower to ensure that I could move it once I was satisfied with the shape.
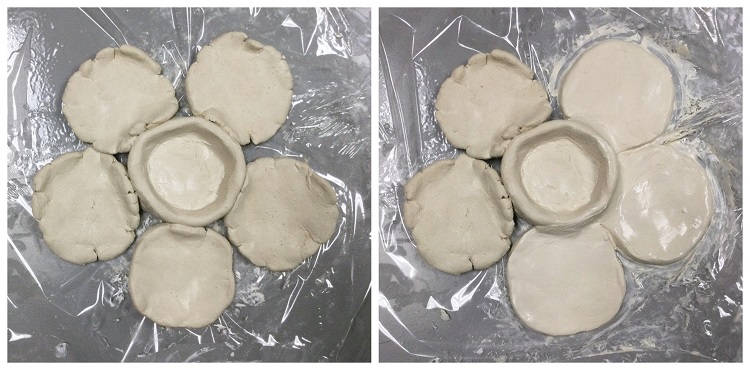
Step 9: Using more water, smooth out the edges and any cracks in the clay. This will help make the clay pieces into 1 piece.
Step 10: Once your clay dries,use a paintbrush and add acrylic paint! You can paint the whole flower the same color and add designs, or have a different color for each petal, or just have the middle a different color. There are so many fun variations you can choose.
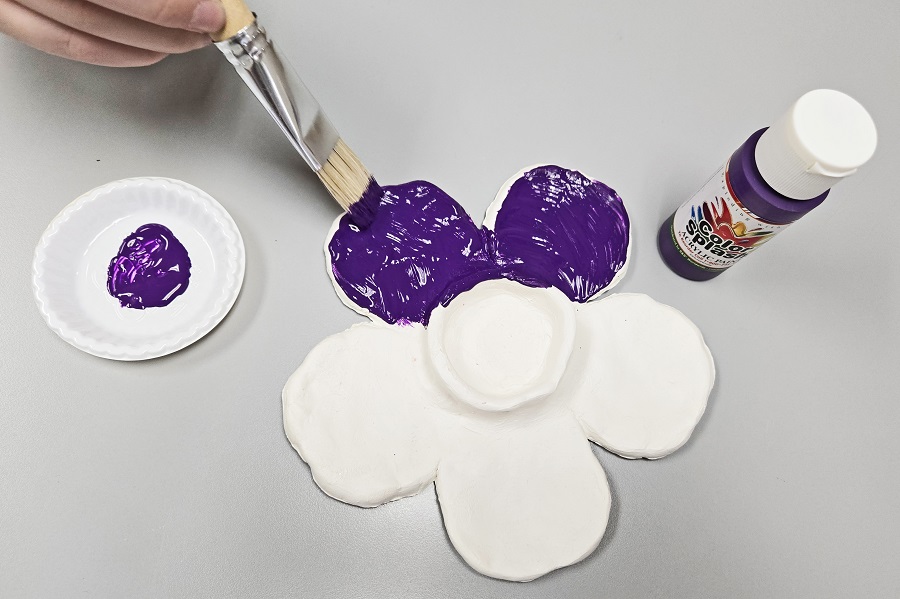
Tip: Once the paint dries, it will have a matte look. You can add modge podge for a more clear coating.
Here is an example of a flower painted by a staff member’s daughter!
You can use your finished flower as a decoration, but also to hold some small items like earrings or pins.
Looking for a fun and easy fall craft to enjoy with your group? Sand art is a colorful, hands-on activity that encourages creativity, provides a sensory experience, and gives everyone the chance to make something unique. Whether you’re planning a classroom activity, an afterschool craft, a recreation program, or a seasonal activity for seniors, sand […]
What if a craft didn’t stop being fun once the paint dried? Our Flexible Wooden Animal Craft Kits combine creativity with movement, giving kids a project they can decorate, bend, wiggle, slither, and play with long after craft time is over. Made from cleverly notched wood, these animals bend and flex with simple movements of […]
As an Occupational Therapist working in an Elementary School, I find it important to find fun ways to engage my students while addressing skills they need for functional independence. As we prepared for the end of year school events like Unified Sports Field Day, School Wide Field Day, Spirit Assemblies and more, my students were […]
As spring arrives, it brings new opportunities to refresh your activity plans with creative, seasonal projects. Flower-themed crafts are a fun and easy way to celebrate the season while encouraging creativity, self-expression, and hands-on participation in classrooms, afterschool programs, senior living communities, recreation settings, and more. Whether you’re planning a spring bulletin board, a themed […]
Are you an educator, program leader, or creative thinker with ideas to share? We’re always looking for passionate contributors to help inspire our community. Whether it’s a lesson plan, activity idea, success story, or helpful tip — your voice can make a difference.
Interested in contributing? Email us at [email protected] to get started.
Leave a Reply