

Our Color-Me Snow Globes can be decorated and personalized in so many ways! Here are 6 fun ideas and some tips when creating your snow globe project. I created some holiday designs but these ideas can be easily modified for any season or theme.
Fun Holiday Snow Globe Ideas
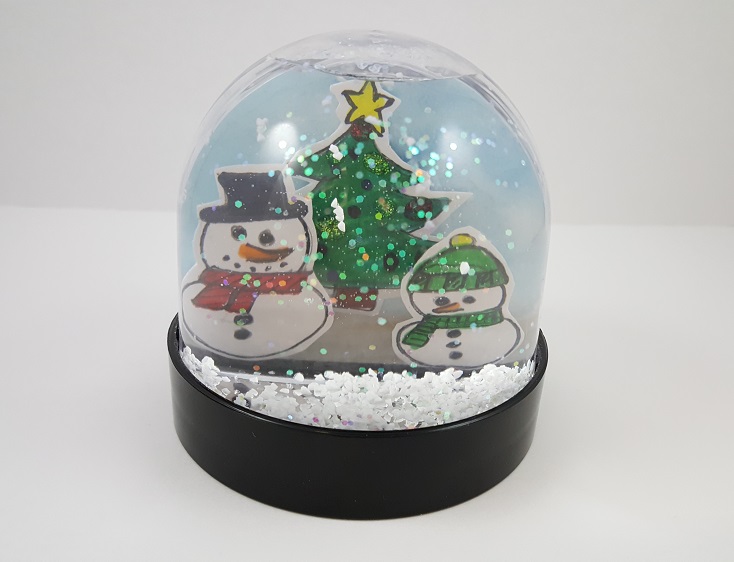
1. Snowmen: Make dimensional drawings or collages of any theme! I chose to make a snowman scene. First, draw the pieces and color them with marker. Then outline with a fine tip marker and some glitter glue for added contrast. Cut all the pieces out. To make a tinted look, use a watercolor wash on the background paper (don’t use too much water). Once that is dry, glue the tree and the two snowmen using 3D foam adhesive dots.

2. Snowflake: All you need are markers and sticky gems! Colore the paper with two shades of blue markers and then added gems in the shape of a snowflake. This ideas is super easy with great results!

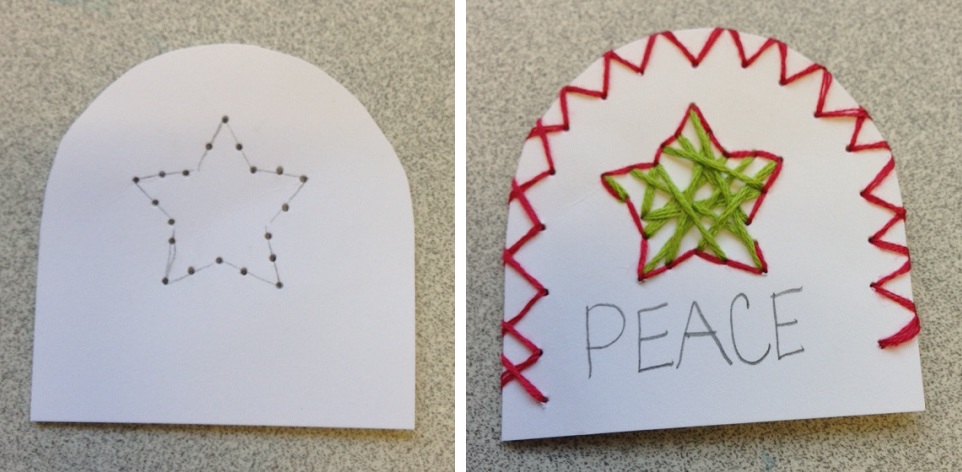
3. Stitching or String Art: For those of you who love to sew, you can get creative with this! I chose to do a simple stitch art design. Started by drawing a star on a piece of heavy weight cardstock. Then using a t-pin, poke some holes in the outline of the star. Randomly stitch the star and its outline, using embroidery floss and a needle. I also decided to add the border using the same process above, and added a little watercolor wash to the star. TIP: I’d recommend doing the watercolor wash before you stitch. Finally, stitch the word “peace” at the bottom. This would look great on burlap. You could even try some cross-stitch designs!

4. Photo Snow Globe: Choose 2 of your favorite photos. We’d recommend ones that are not too dark or detailed. Simple, bold images work best. Cut each photo to fit the snow globe insert shape (remember to use the paper template) and slide them into place with the foam insert in between.

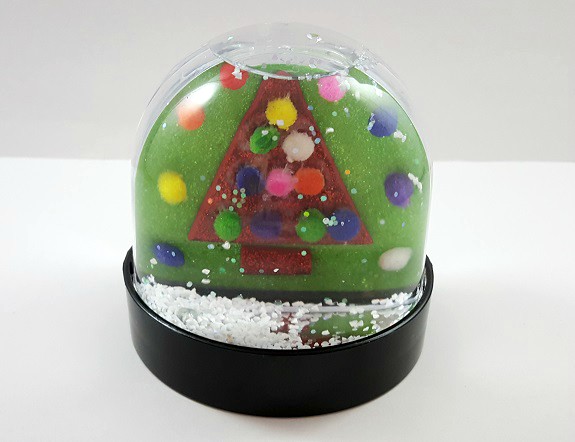
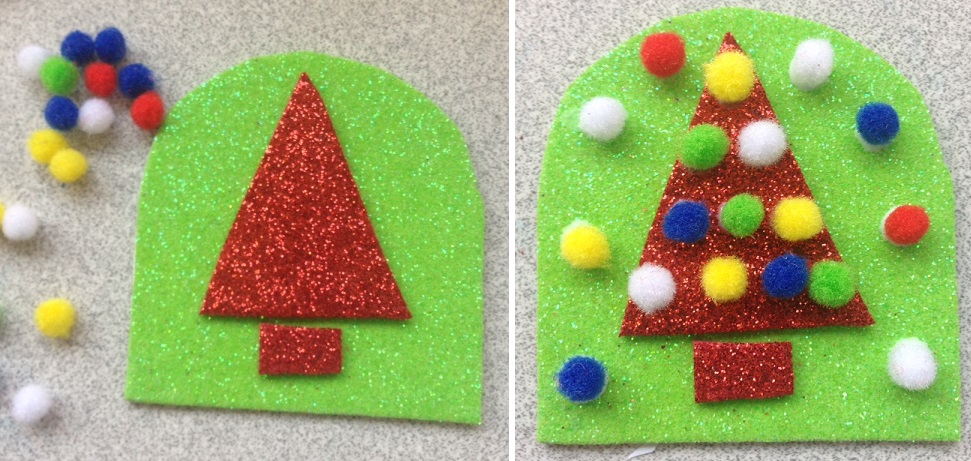
5. Holiday Tree: This is a great project for younger kids. Cut glitter (or regular) foam sheets in the shape of the snow globe insert. Then cut out a tree shape with a different color glitter foam. Glue pom poms to the tree and background, and you’re done! There are so many designs you can create using this technique. Use adhesive foam shapes for different holidays, stickers, gems, and more. Just remember to keep the thickness of your design to about 3/8” so it will slide easily into the snow globe.
6. Religious Theme: This is a fun idea for Sunday School or VBS. Use blue foam for the background. Then cut out a mountain shape using brown felt. Add a snow cap to the top using white construction paper. Write the word “Explore” in fine marker on any color construction paper you’d like. Glue it onto the brown felt. Glue some snowflake sequins, and add some cotton to the bottom to resemble snow. Then add a cross using gold glitter foam.

Tips:
– Each snow globe comes with 2 paper inserts and a foam insert. This way you can decorate both sides of your snow globe or use 1 of the paper inserts as a template to cut the shape out of another type of material (canvas, burlap, cardboard or foam).
– View our snow globe video tutorial for some easy decorating techniques and assembly tips!
– If you are going to be using any kind of paint, we’d recommend using the paper insert as a template and cut the shape out of watercolor paper, canvas or heavy weight cardstock.
– Make it dimensional! You can create a piece of artwork up to approximately 3/8” thick. This can be inserted into the center of the snow globe. The actual opening is ½” thick.
– We recommend filling the snow globes with water first, before you insert any artwork. You will need a steady, thin stream of water to fill the snow globes. If you are working with a larger group or young children, you will want to do this ahead of time.
– Think “outside” the snow globe! Use stickers or adhesive gems to decorate the black base of the snow globe. Carefully add a couple drops of food coloring or watercolor paint to the water in the snowglobe for a tinted look!
Video Tutorial
More than anything, have fun and create something unique for someone special to you!
Submitted by: Ann Kollegger, Product Manager at S&S Worldwide


Pingback: Top 10 Winter Craft Ideas for Kids - S&S Blog
Pingback: 6 Winter Craft Ideas For Your Senior Living Facility - S&S Blog
Pingback: 10 Winter Holiday Craft Ideas - S&S Blog